To learn how to configure a development environment for .NET core with vscode see: Vscode + ASP.NET Core: Setup development environment.
Intro
I’ve been work a lot with Java lately and as most of the developers of this language I was using eclipse. Despite personally considering it a good IDE, I’ve been attracted using vscode as my main development tool for its flexibility, lightweight and cool extensions that brings agility to development. So, I’ve decided to adventure myself trying to develop Java using vscode and ended up enjoying the experience, even though there’s still some deficiencies so it might not fully replace a full fledged IDE like eclipse or even IntelliJ IDEA.
The github repository of all code here is available at: https://github.com/danielpadua/java-spring-vscode-example
Requirements
To follow this guide, it’s required to have installed in your machine:
Java JDK 8 or higher
Installing Java Support Extensions
To run correctly Java projects in vscode, it will be necessary to install some extensions. There are already some extensions packages that group the essentials, so, open your vscode and click in the extensions tab, search and install the followings items:
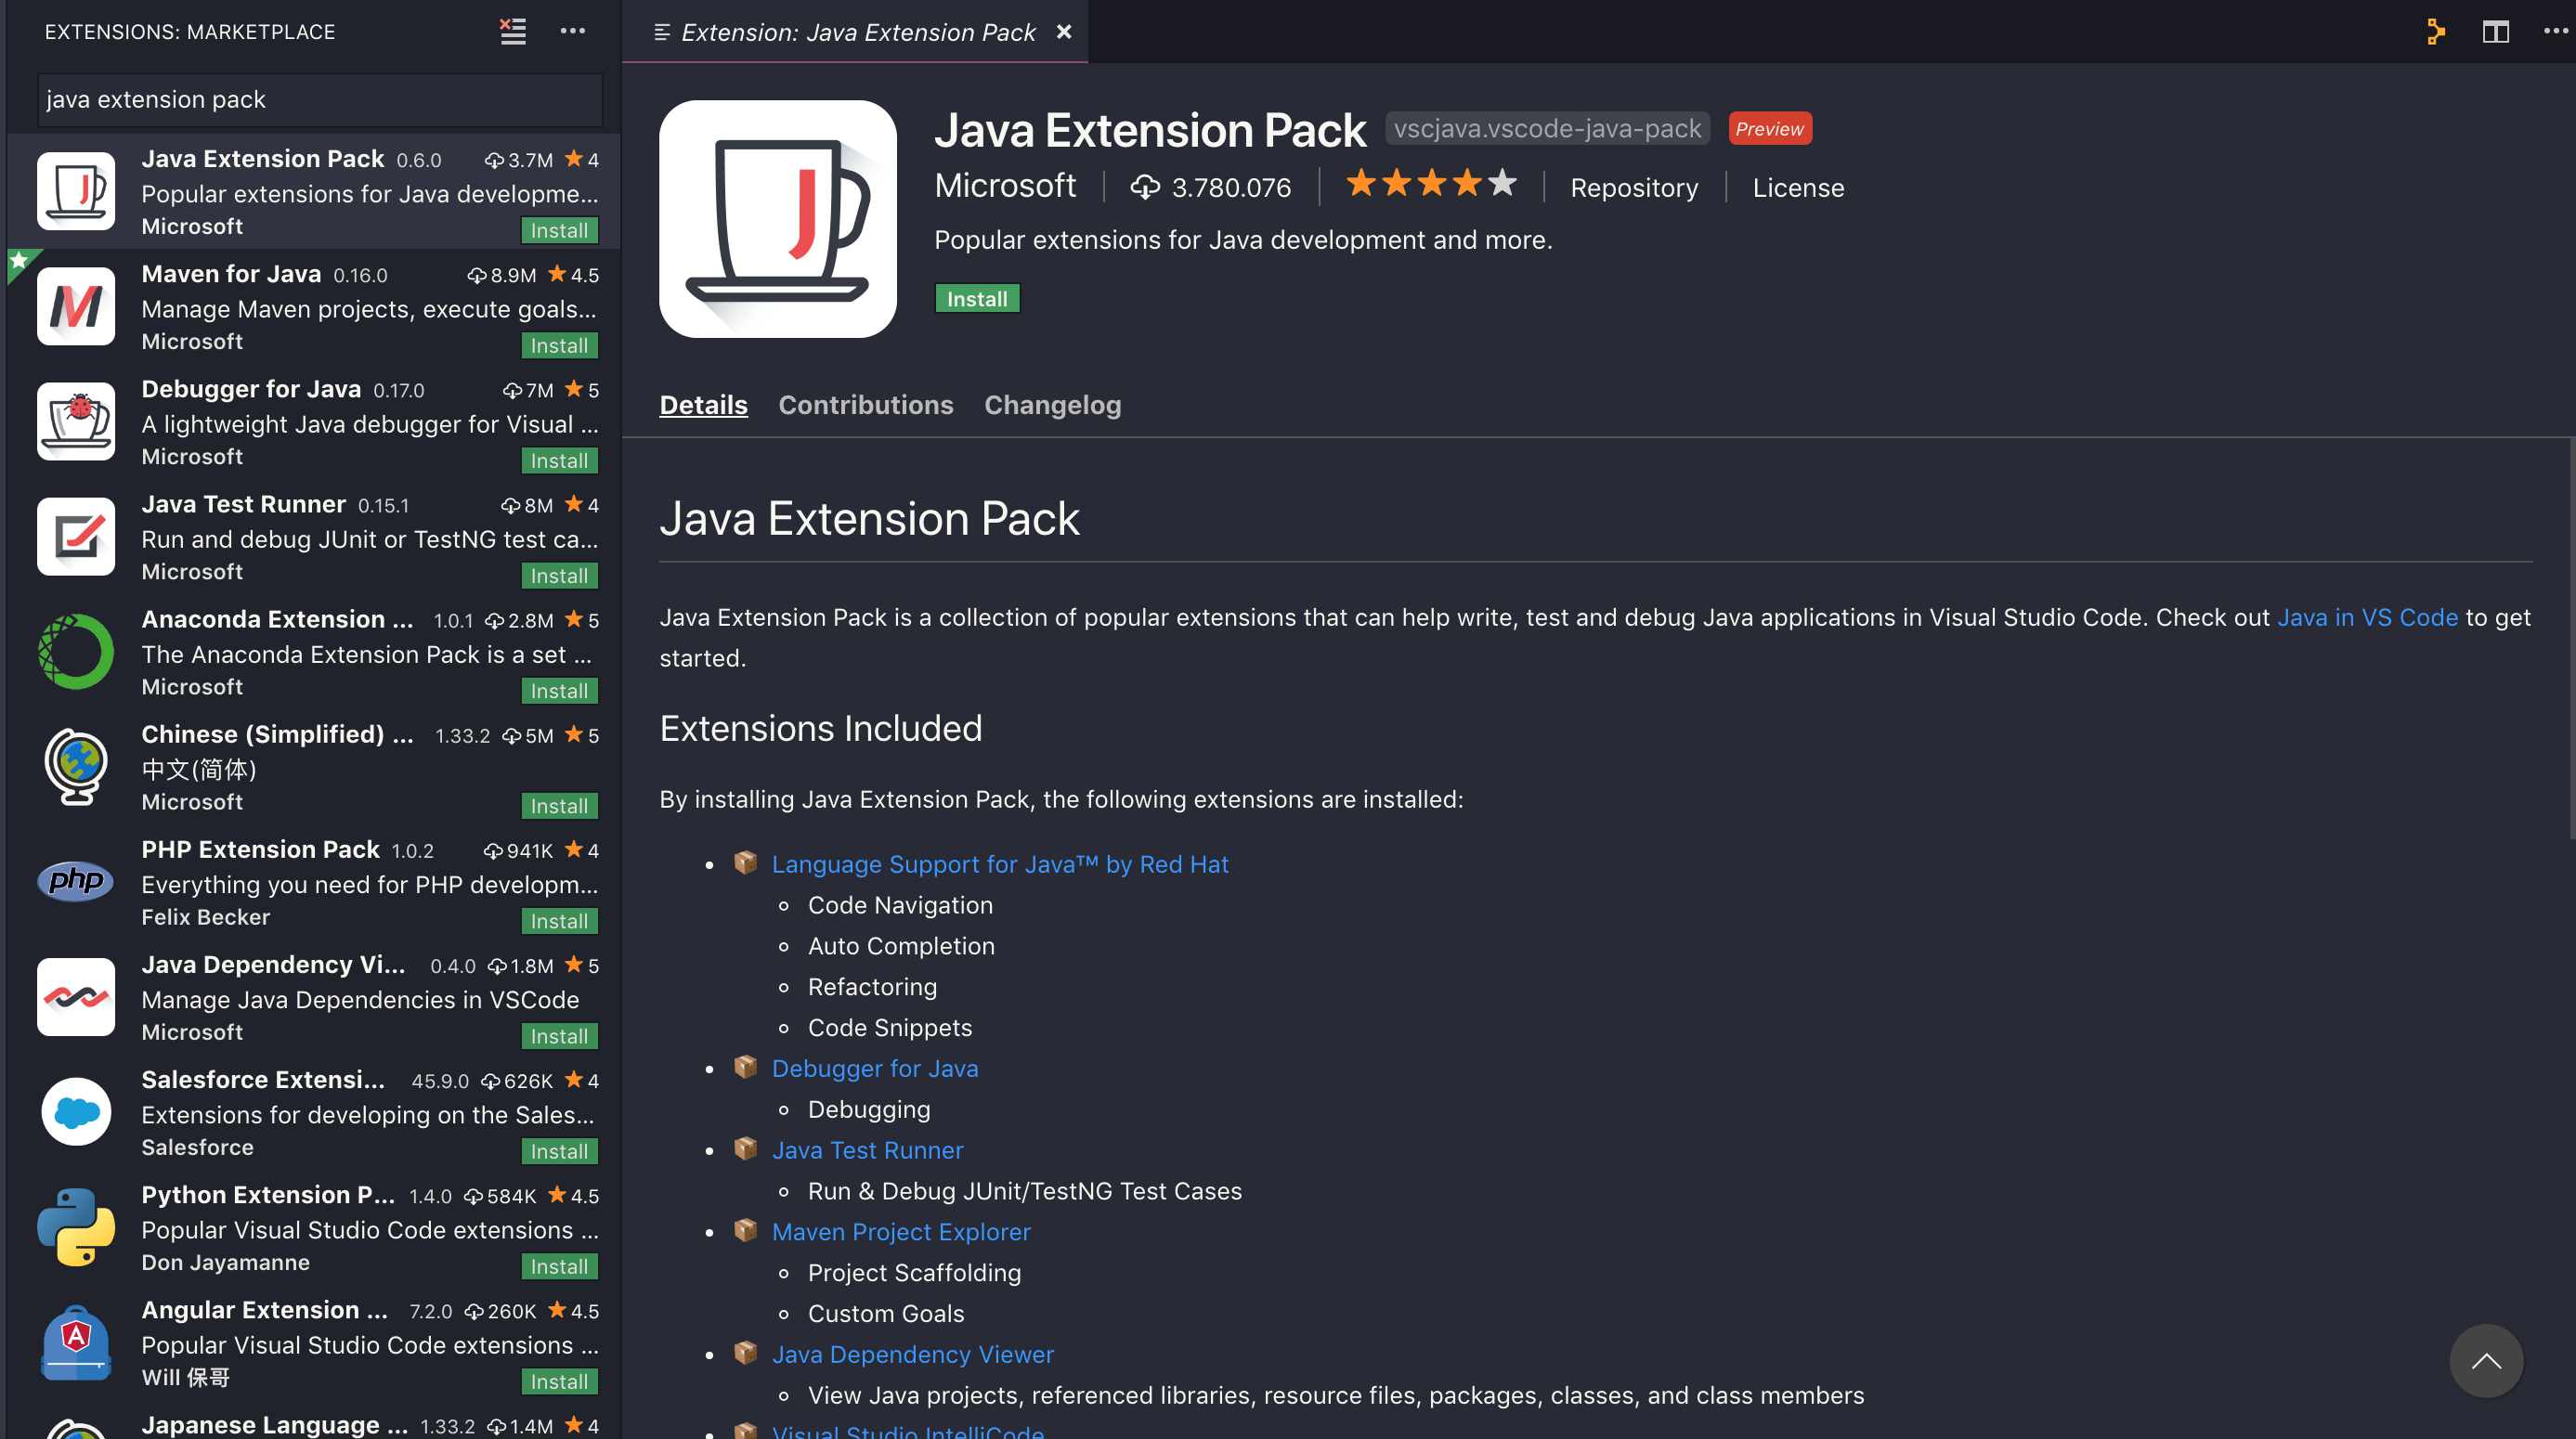 Java Extension Pack
This extensions package contains the essentials to go out there and start to develop Java in vscode. Functionalities like: Code navigation, auto-complete, refactor, main code snippets, debbuger and others.
 Spring Boot Extension Pack
This extensions package contains the essentials to help develop Spring Boot projects. Tools like: Spring Boot Initializr (eases spring-boot projects creation), Spring Boot Dashboard (vscode tab that provides a spring-boot projects explorer in your workspace) and others.
After installing these extensions, remember to open the command palette and run a Reload Window (ctrl+shift+p => windows/linux or cmd+shift+p => mac) and type “Reload Windows” and press Enter key.
Create a project with Spring Initializr
After installing the required extensions we will create a sample Spring Boot project using Spring Initializr for vscode. Once again, open command palette and type: “spring” and select the option: “Spring Initializr: Generate a Maven Project”

Select Java as Language
Put in Group-Id something like:
br.com.danielpaduaIn Artifact-Id put something like:
java-spring-vscode-exampleSelect the most recent and stable Spring-Boot version (At the time of writing of this guide it is: 2.1.4)
Do not select any dependency, just hit Enter key
Select a folder to nest the project, I suggest you to create a folder named “projects” in the home folder of your user
With the project created, go to vscode explorer and open the folder we just created. Vscode will try to initialise the extensions and update project’s Maven dependencies, So you will have to wait until it finishes:
 This might take a while, be patient!
With this all set, your opened project must be something like this:
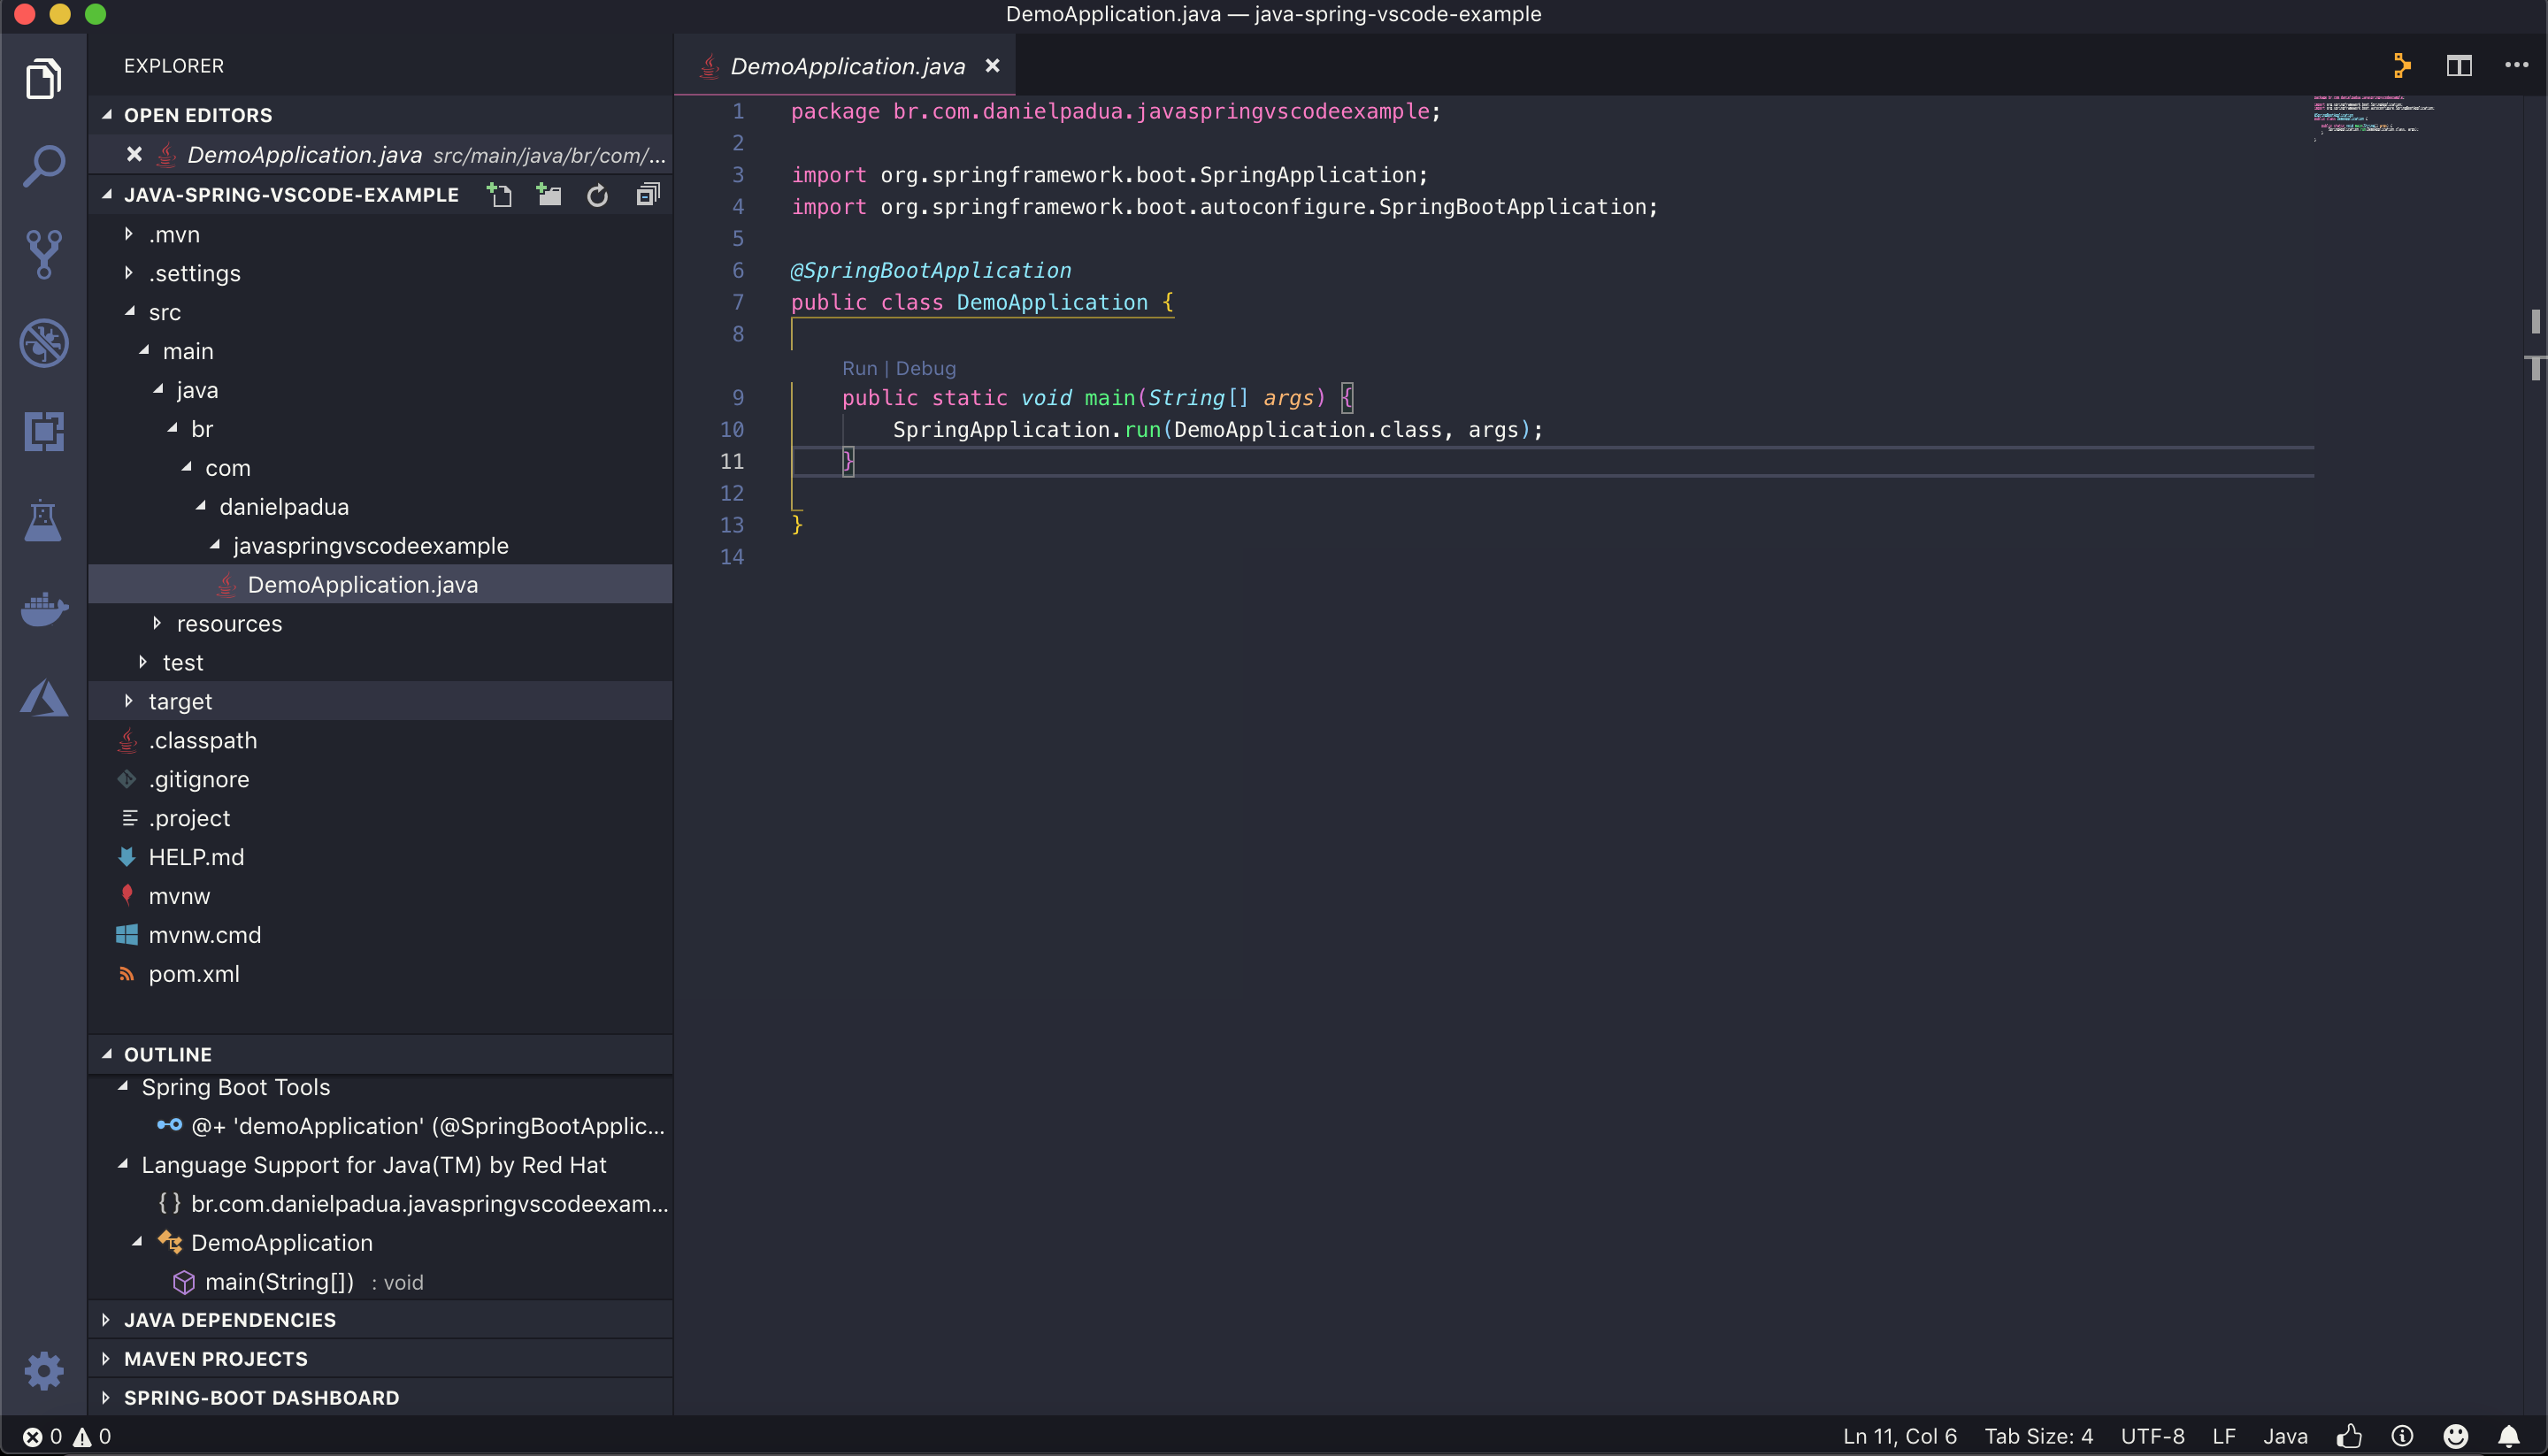 Vscode + Java
Just make a small fix in pom.xml file: in dependencies section, change the artifactId of org.springframework.boot from: spring-boot-starter to: spring-boot-starter-web and save the file. This will force maven to search for the artifact that knows how to work with REST APIs or MVC.
Writing a Hello World
Now let’s write a Controller that will simply return a HttpStatus 200 OK with the classic Hello-World message, take the opportunity to test: intellisense, code navigation and others that are commonly used.
- In your project explorer, right click over “javaspringvscodeexample” and add a new folder named “controllers” and inside of it, a file named:
ExampleController.java. Type “class”, and use the snippet:
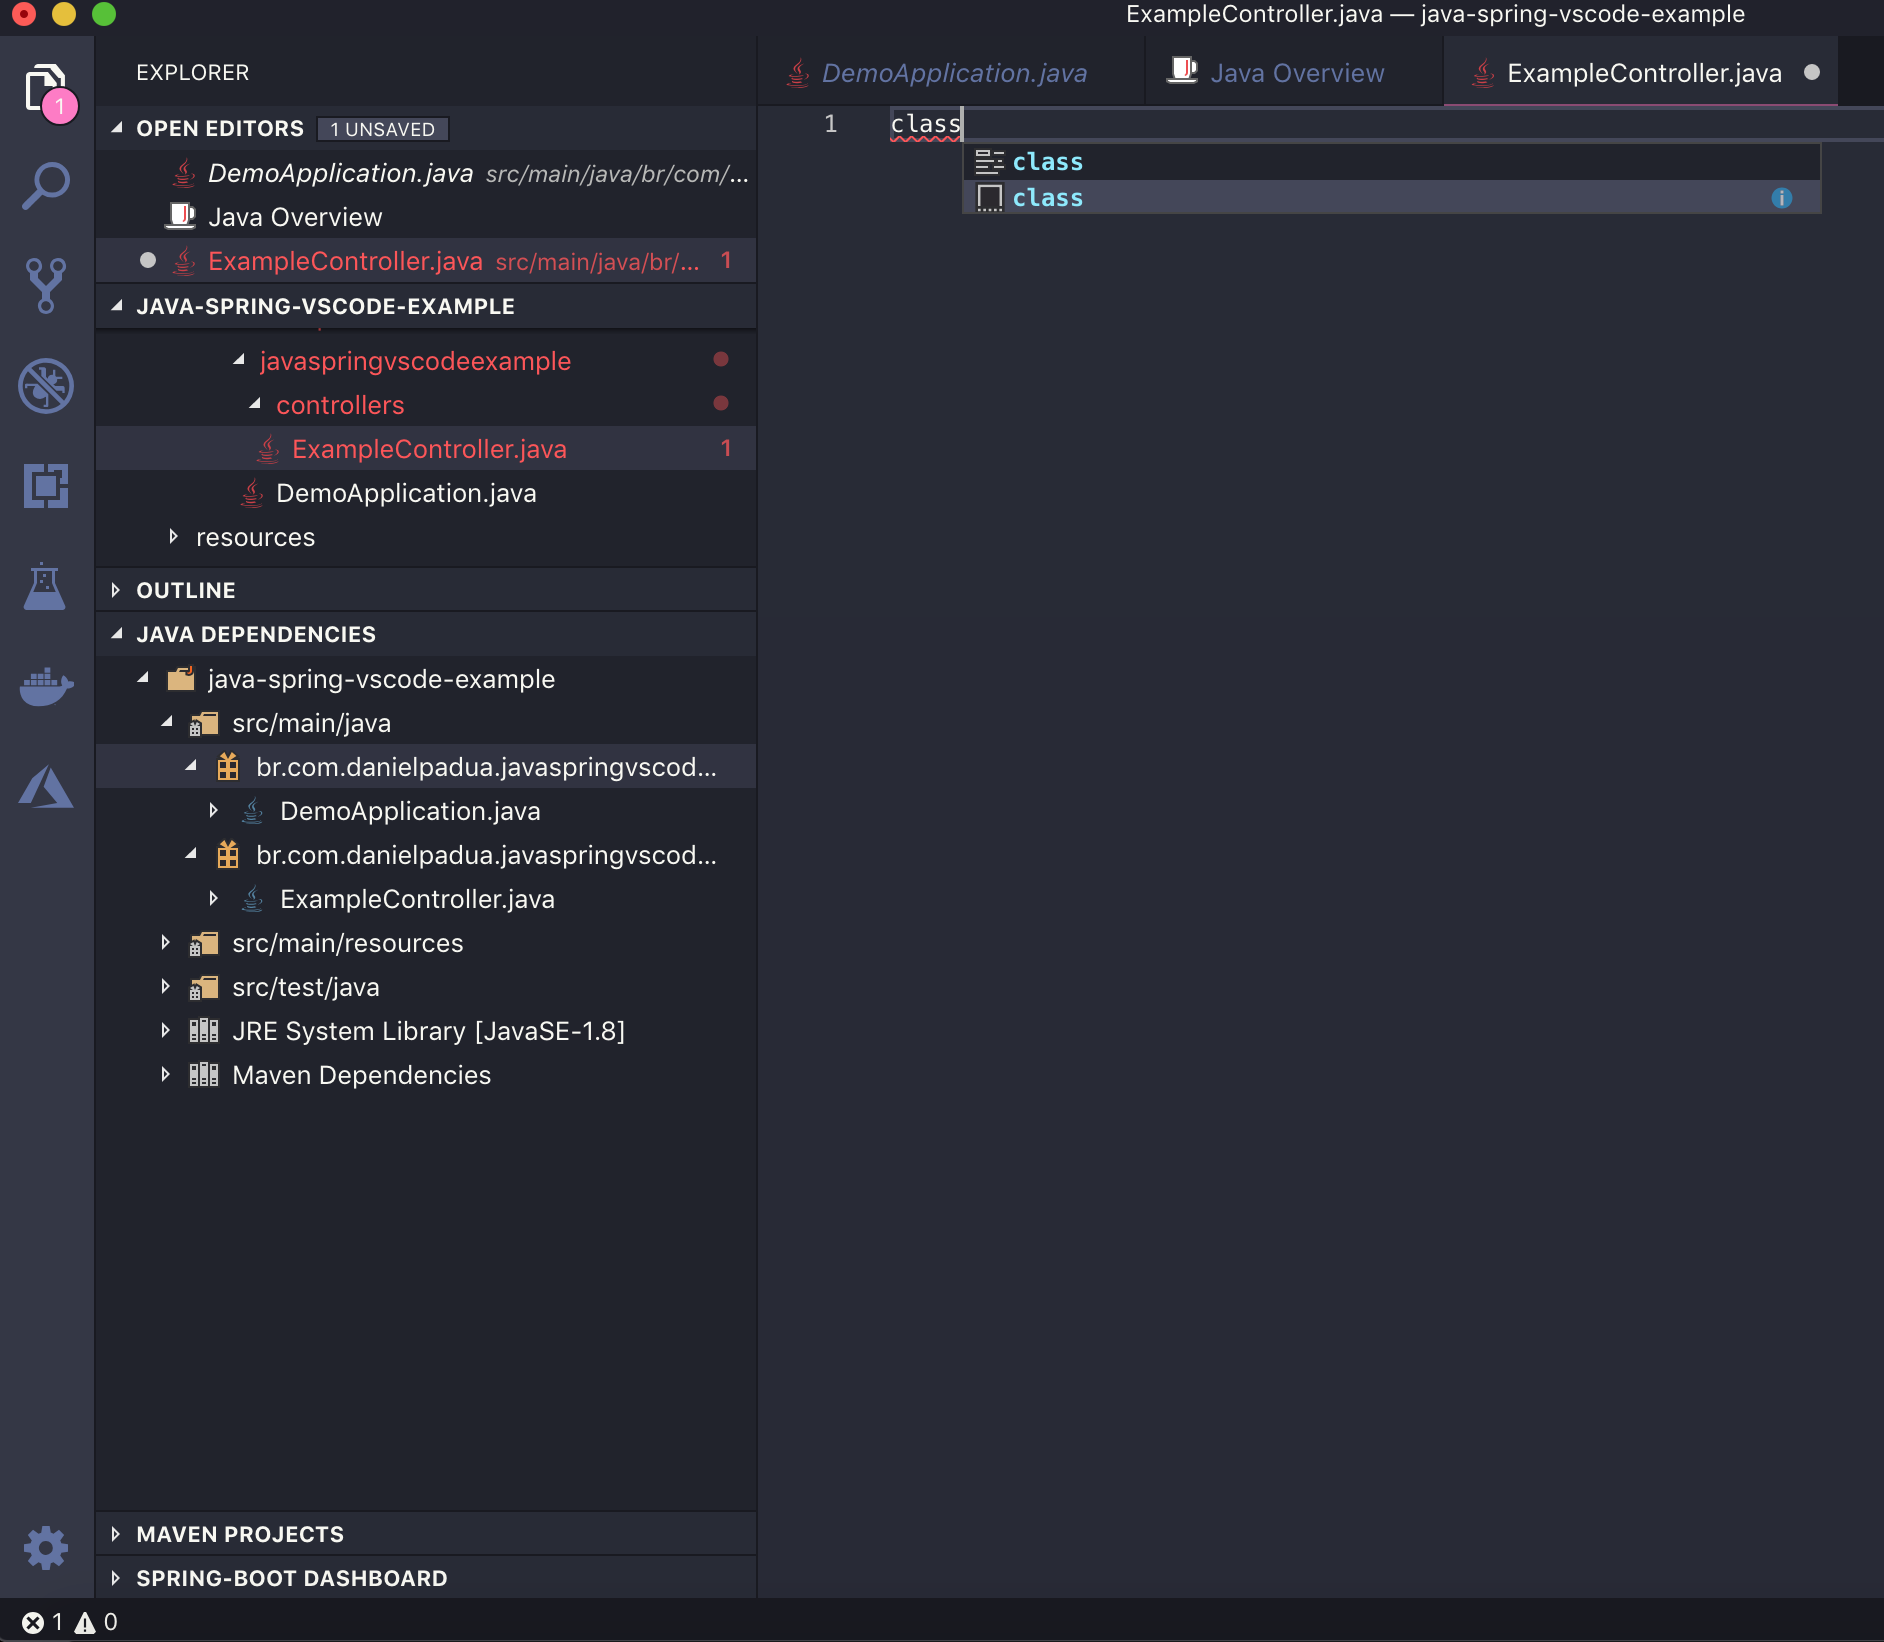 Class creation snippet for ExampleController.java
Notice that the tab: “Java Dependencies” shows a package view very similar that Eclipse shows.
Create a Hello-World this way:
1
2
3
4
5
6
7
8
9
10
11
12
13
14
15
16
17
18
19
20
21
package br.com.danielpadua.javaspringvscodeexample.controllers;

import org.springframework.http.ResponseEntity;
import org.springframework.web.bind.annotation.GetMapping;
import org.springframework.web.bind.annotation.RequestMapping;
import org.springframework.web.bind.annotation.RestController;

/**
 * ExampleController
 *
 * @author Daniel Padua
 */
@RestController
@RequestMapping("api/example")
public class ExampleController {

	@GetMapping("/hello-world")
	public ResponseEntity<String> get() {
		return ResponseEntity.ok("Hello World!");
	}
}
Executing the project
Now execute the project using the tab “spring-boot-dashboard”:
 Running App!
At this moment, your Spring Boot App is already up and running in port 8080 (default port). Open your browser and navigate to: http://localhost:8080/api/example/hello-world, and you’ll see this:
 Hello Java Spring Boot World!
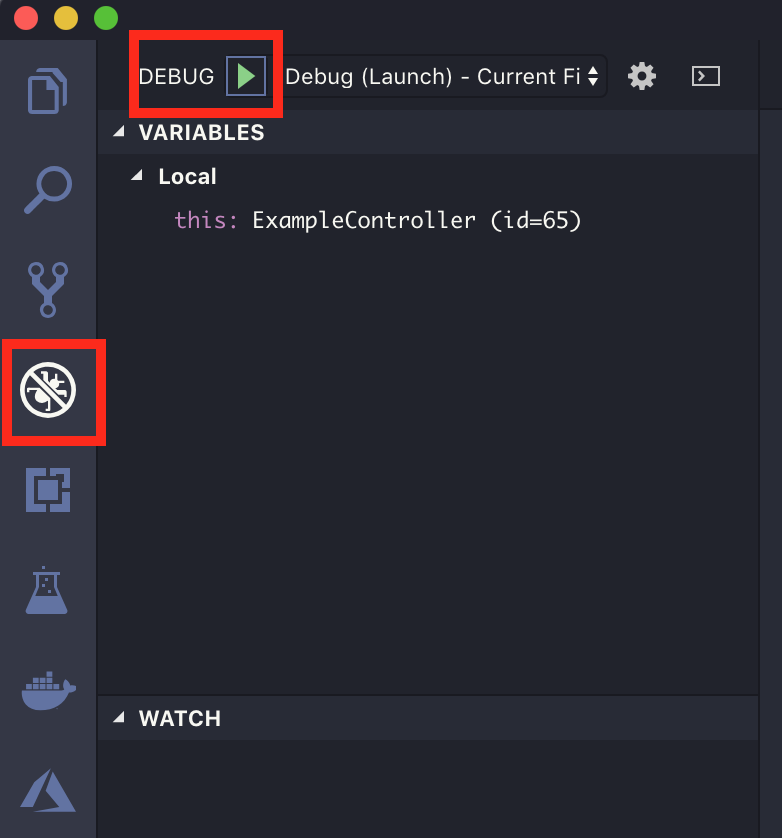
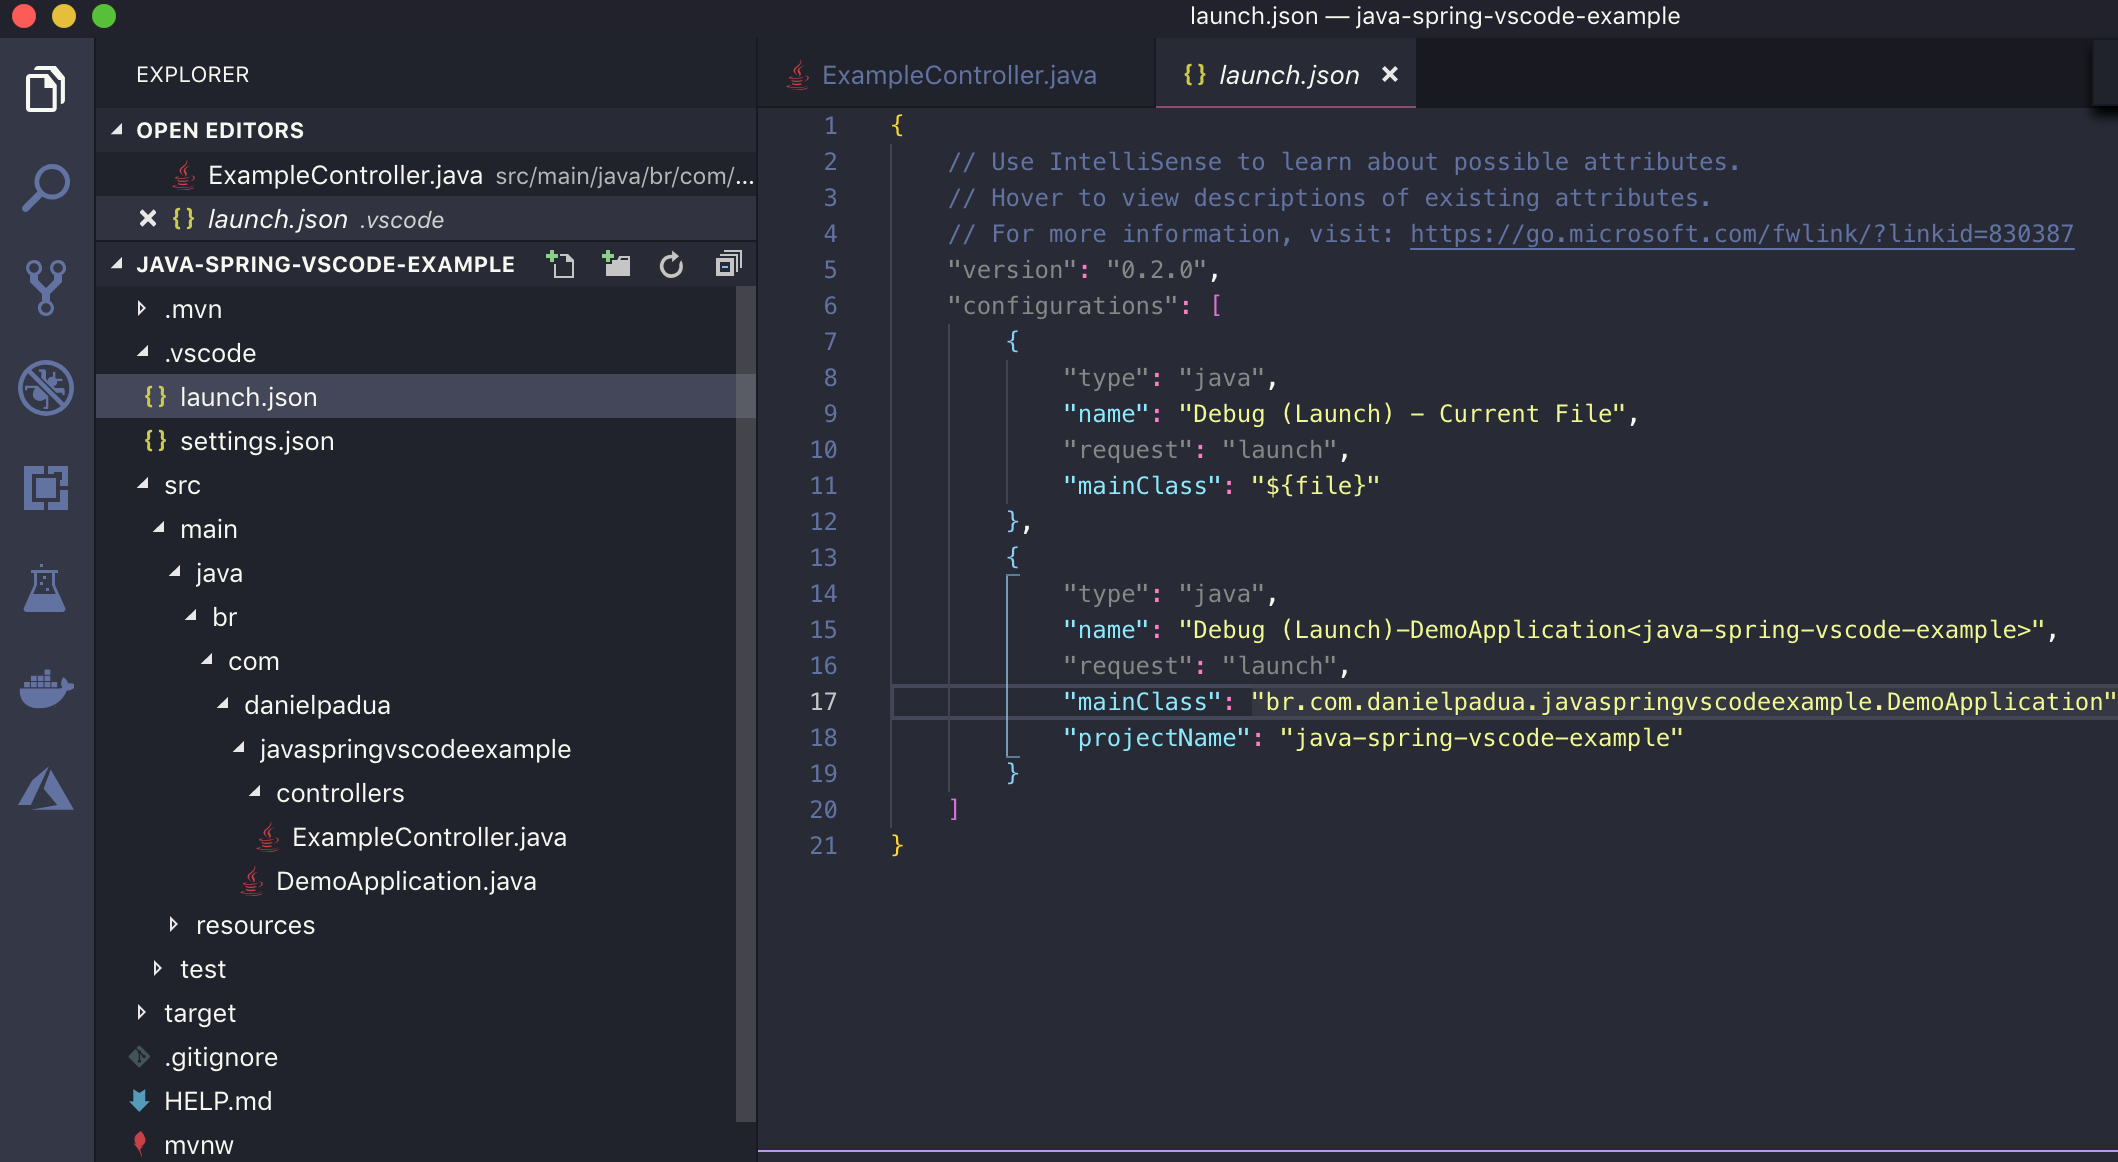
To run in debug mode, you only have to navigate to debug panel and add a default configuration:
The file below will be added in a hidden folder (.vscode) as it follows:
From this moment on, you can click the Run green button for your app run in debug mode. Define your breakpoints and enjoy debug:
 Debugging Java with vscode
Conclusion
It is possible to work with Java and Spring-Boot with vscode and still have some development agility close to famous IDEs like eclipse and IntelliJ IDEA. However, there is still a lot space to improve when it comes to java support and its extensions, in order to fully replace these IDEs.
See you soon!