Intro
For a long time Visual Studio has been the main development tool in the .NET world and recently in .NET Core. With time, many features were added making it even more heavier. I feel like I’m losing development agility lately for having to live with features that I do not use, and also, I feel like I’m in some sort of “comfort zone” using Visual Studio, mostly because it does a lot of things “under the hood” — this may cause a lack of understanding of the developer.
Taking advantage of the rise of Visual Studio Code and also of the open source culture that is increasing as a part of the .NET vein, I’ve decided to create this guide to show how quickly is to setup a development environment using vscode as well as using its extensions to gain productivity as good as provided by Visual Studio, but much lighter and without so many things that does stuff “automagically”.
Installing .NET Core SDK
There are a version of .NET Core SDK for Windows, Linux and macOS. To install it there are some possibilities, for example:
Download and install directly from Microsoft: https://dotnet.microsoft.com/download selecting your OS
(Recommended) Using a package manager, as it follows:
- Windows Yes, actually there is a package manager for Windows, and it’s called: Chocolatey. Follow this installation guide: https://chocolatey.org/install and install the dotnet-sdk using the PowerShell command:
1
choco install dotnetcore-sdk - Linux (Fedora) For the penguim lovers, you must already know N distros and N package managers, you only need to search for
dotnet core sdk. For example, in Fedora you can use this guide to configure the repository and install it using:1
sudo dnf install dotnet-sdk-2.1
- MacOS To Apple users I recommend you to use Homebrew and install via cask, with the command line:
1
 brew install dotnet-sdk --cask
- Windows Yes, actually there is a package manager for Windows, and it’s called: Chocolatey. Follow this installation guide: https://chocolatey.org/install and install the dotnet-sdk using the PowerShell command:
Installing Visual Studio Code
The instructions above are also valid when installing vscode, it can be installed using a package manager or downloading directly in https://code.visualstudio.com/download
Configuring Visual Studio Code Extensions
To achieve some basic functionalities that we used to have in Visual Studio, for instance: debug, auto-complete, compiler etc, it will be necessary to install some extensions in vscode:
Essentials
- C# (Omnisharp)
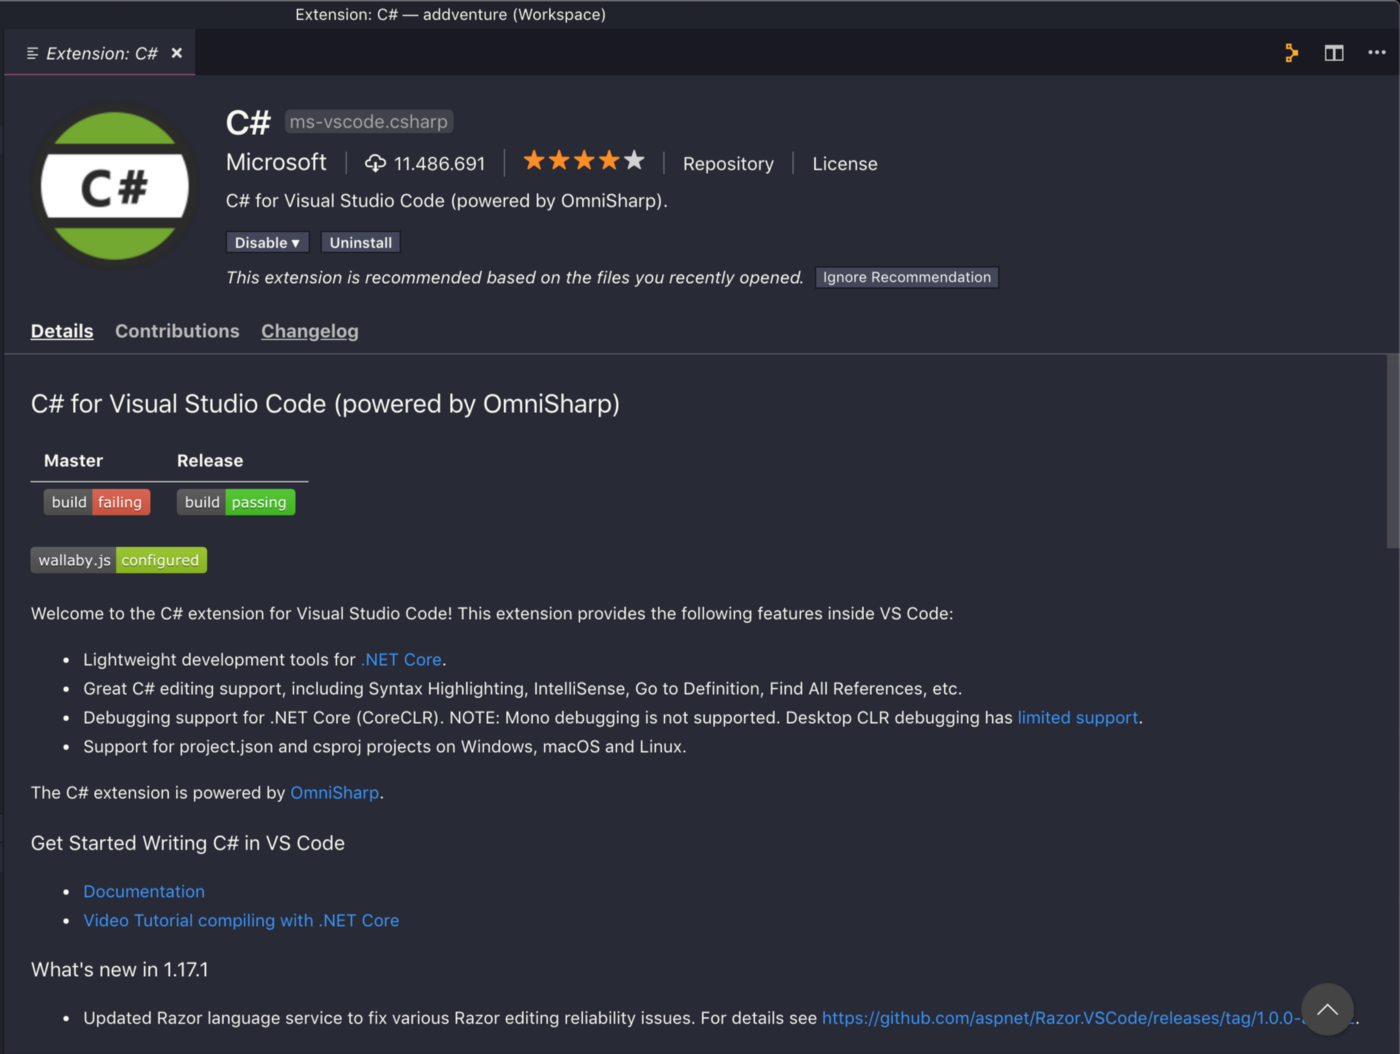
This is the official C# extension by Microsoft. Using only this, you’ll already be able to debug, auto-complete and use the compiler without any trouble.
Optionals — The ones that I’m using/testing
- C# XML Documentation Comments
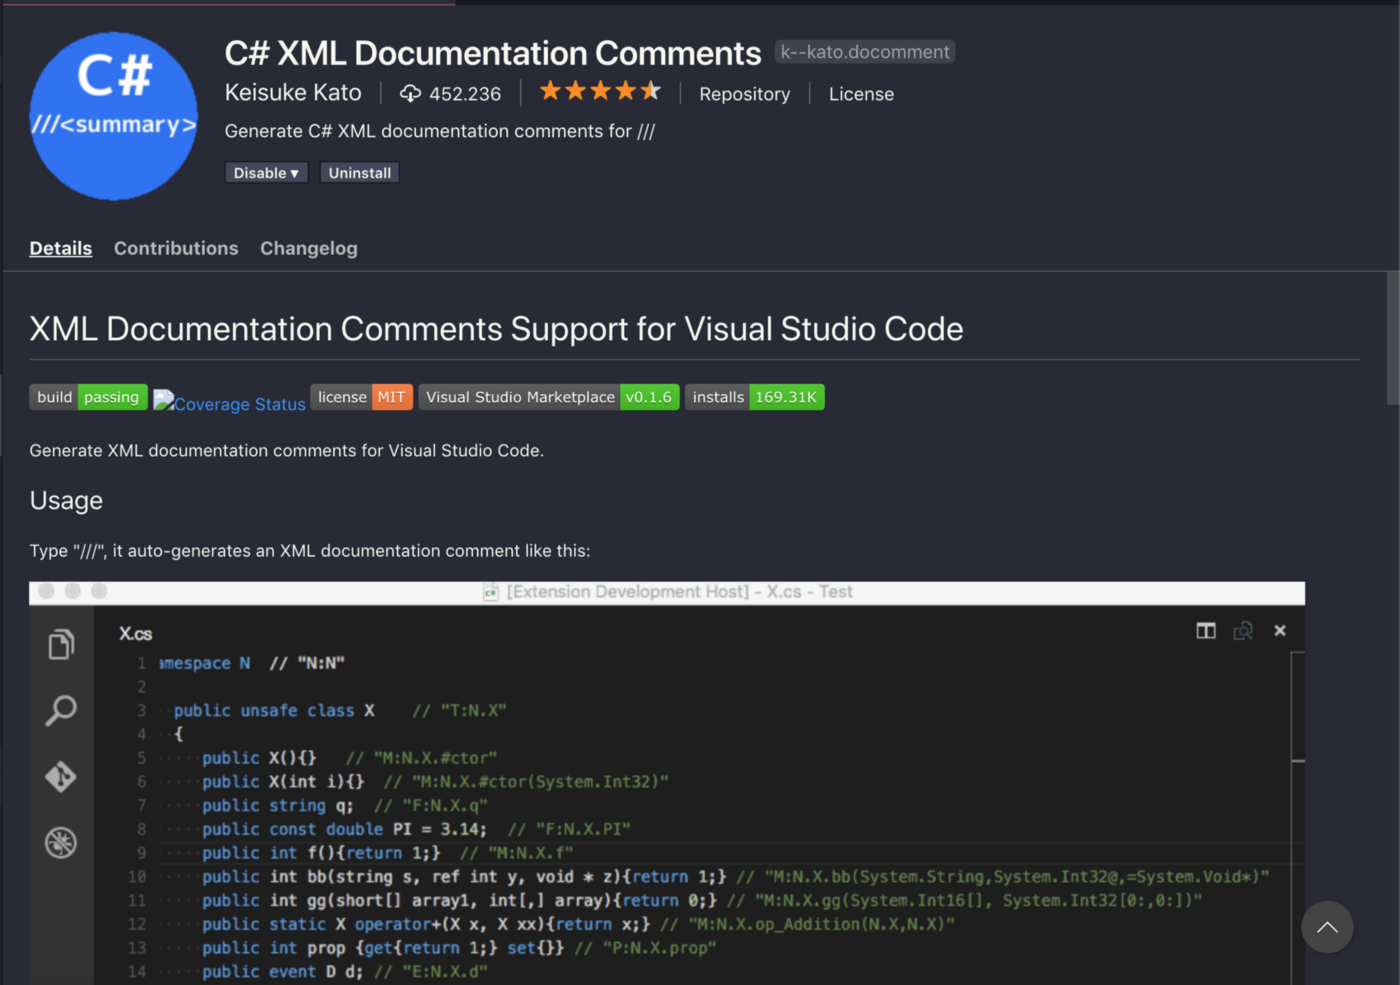
This extension basically provides auto-complete when typing “///” that generates basic XML documentation template of the scope, like Visual Studio.
- ASP.NET Core Snippets
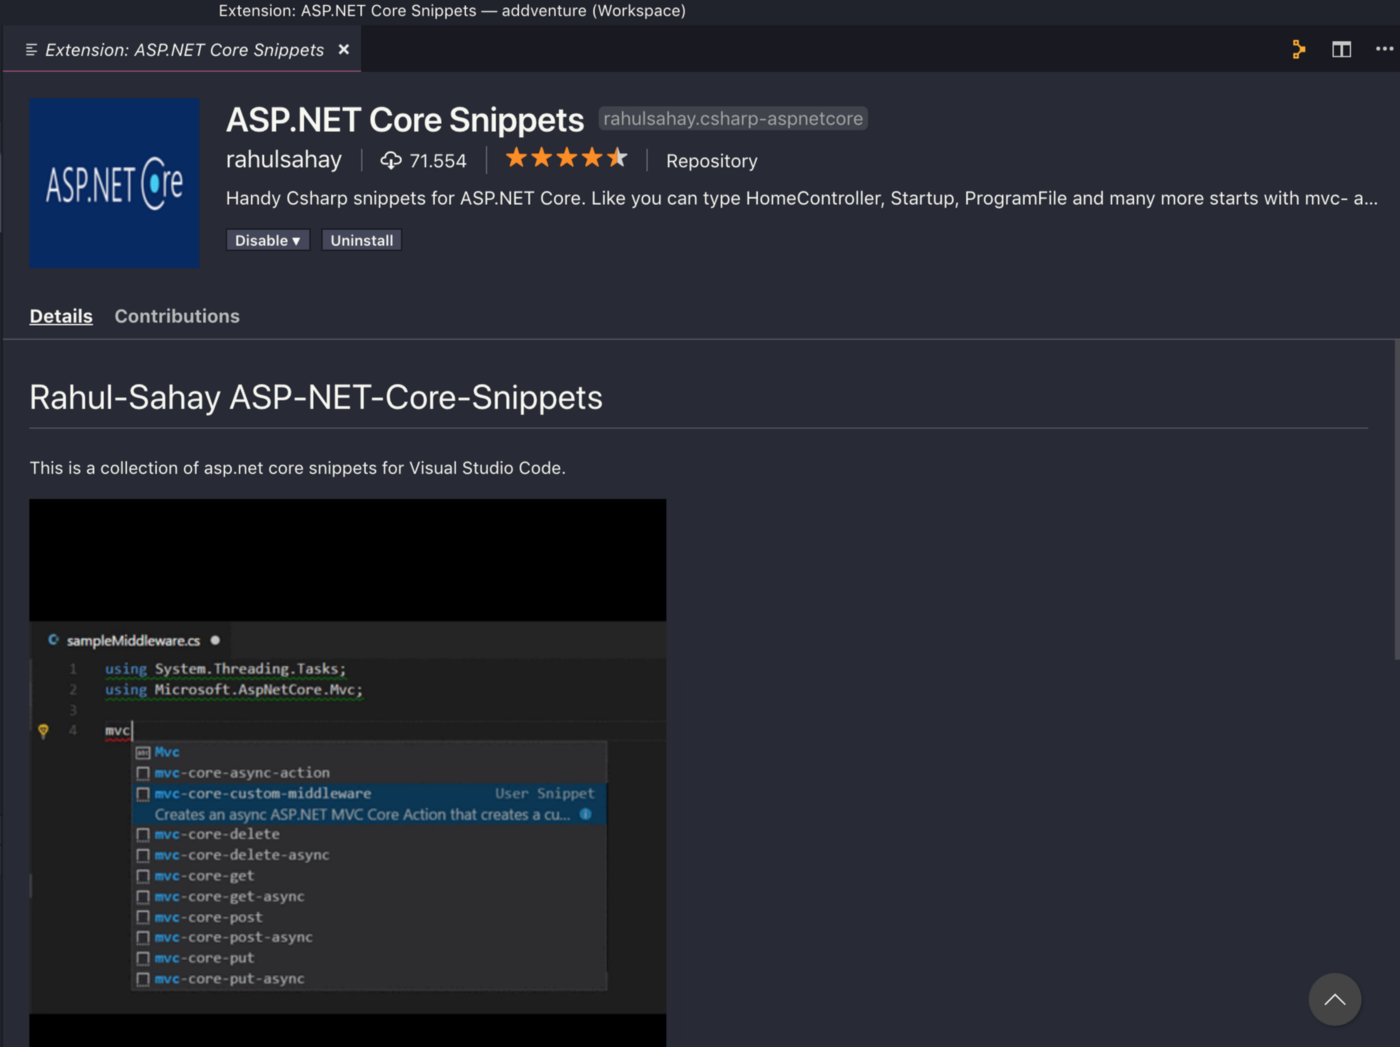
This extension contains some code snippets to auto-complete: methods, properties etc.
- C# Extensions
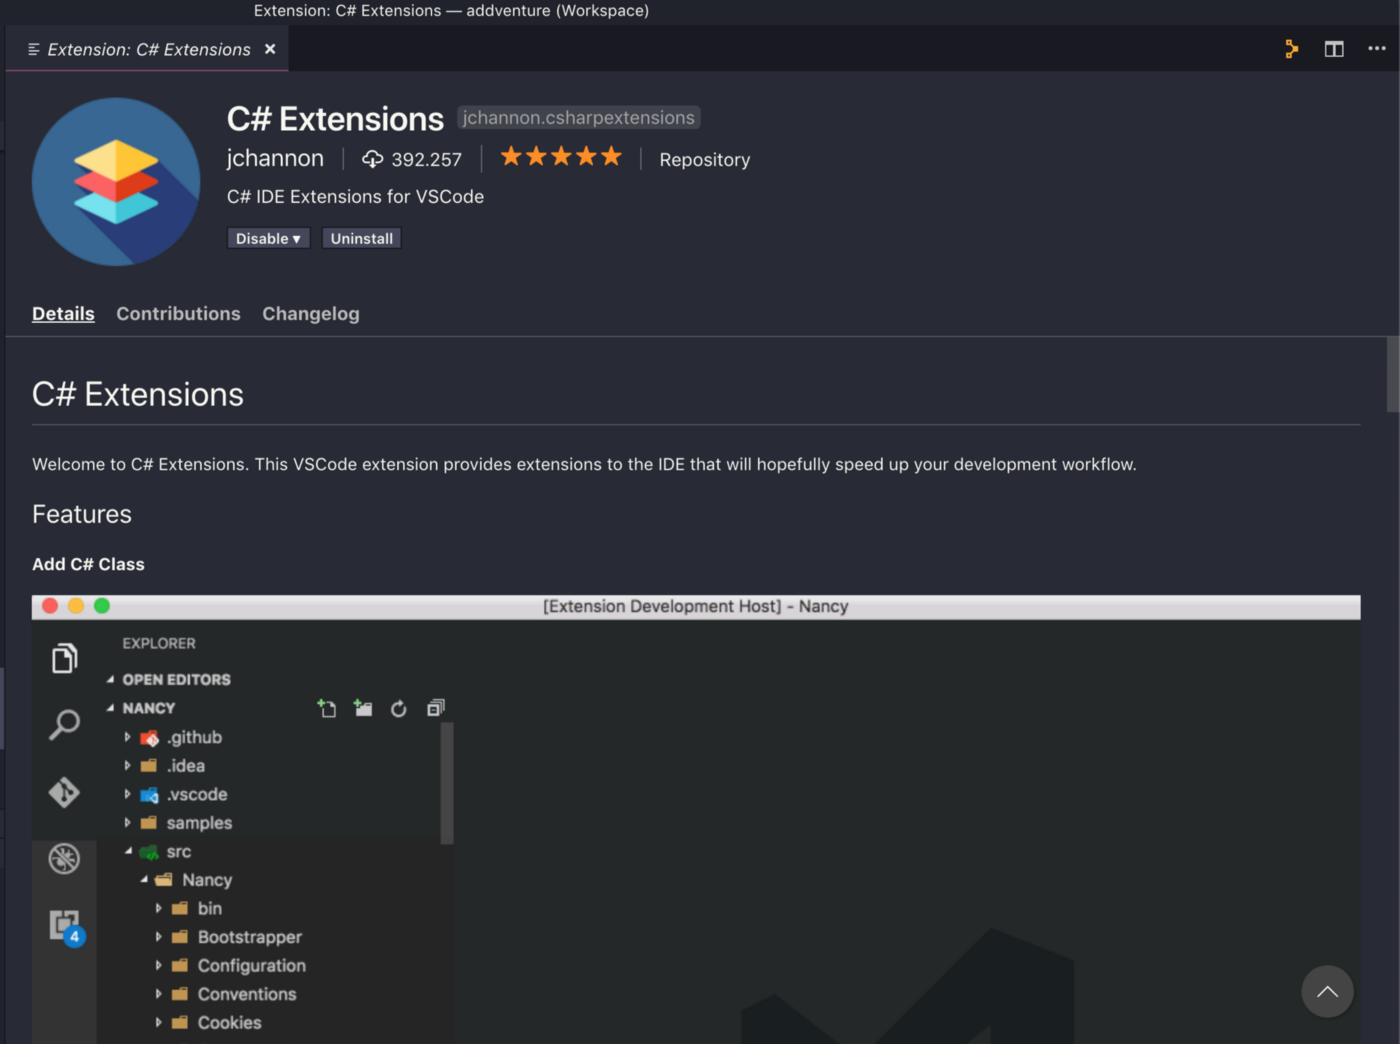
This extension provides some specific .NET Core context actions, like: create a C# class by clicking with the mouse’s right button, instead of create a blank .cs file.
- Bracket Pair Colorizer
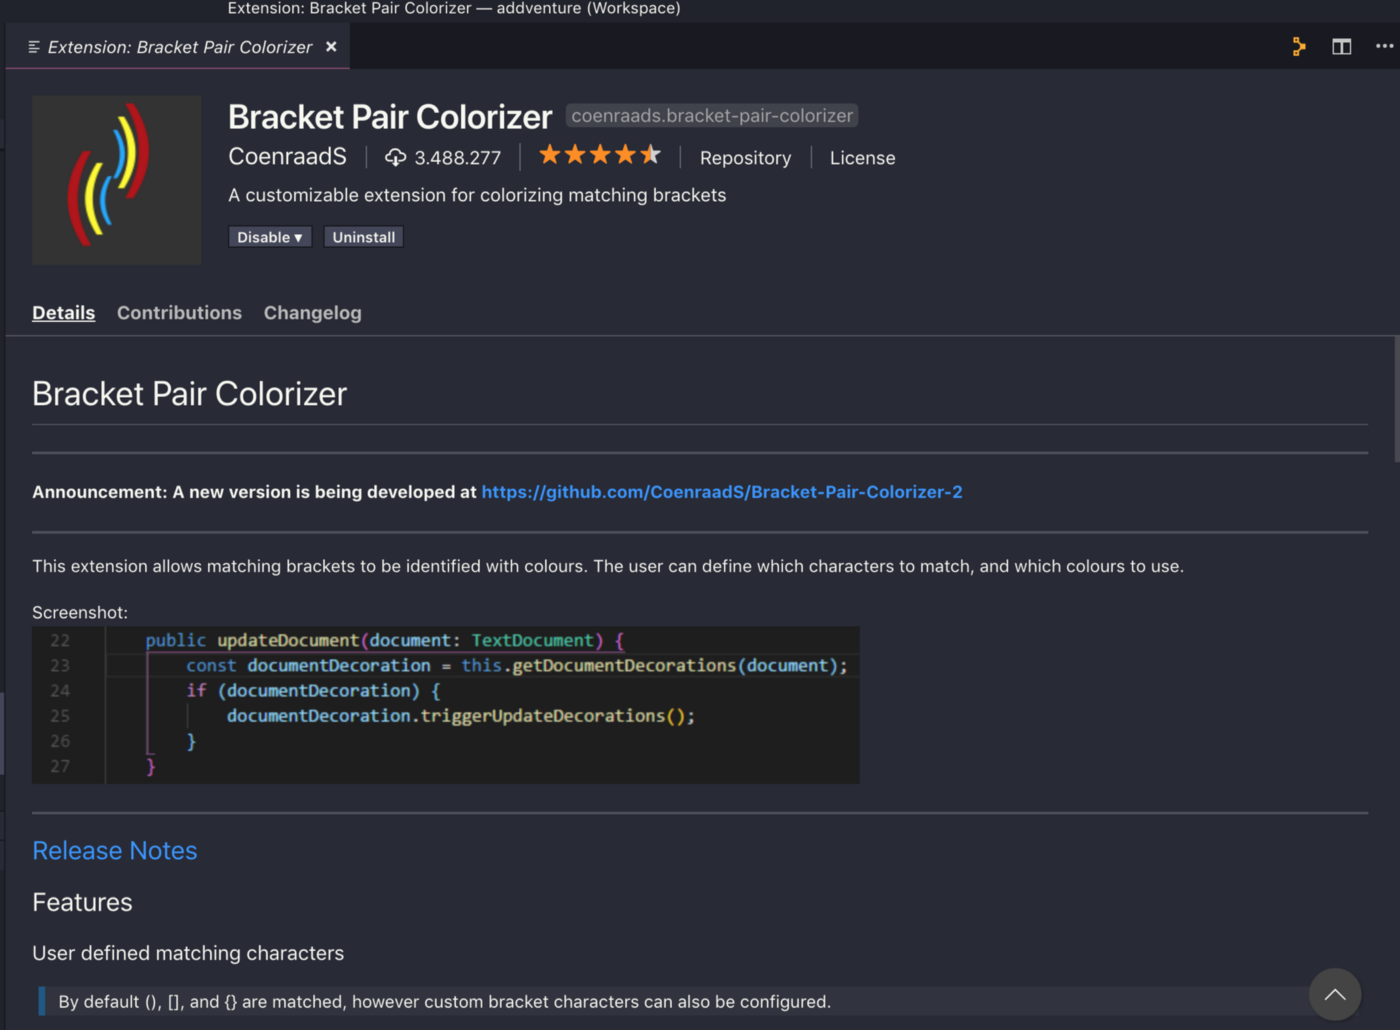
This one set colors to opening and closing brackets, that eases code visualization.
- Path Intelisense
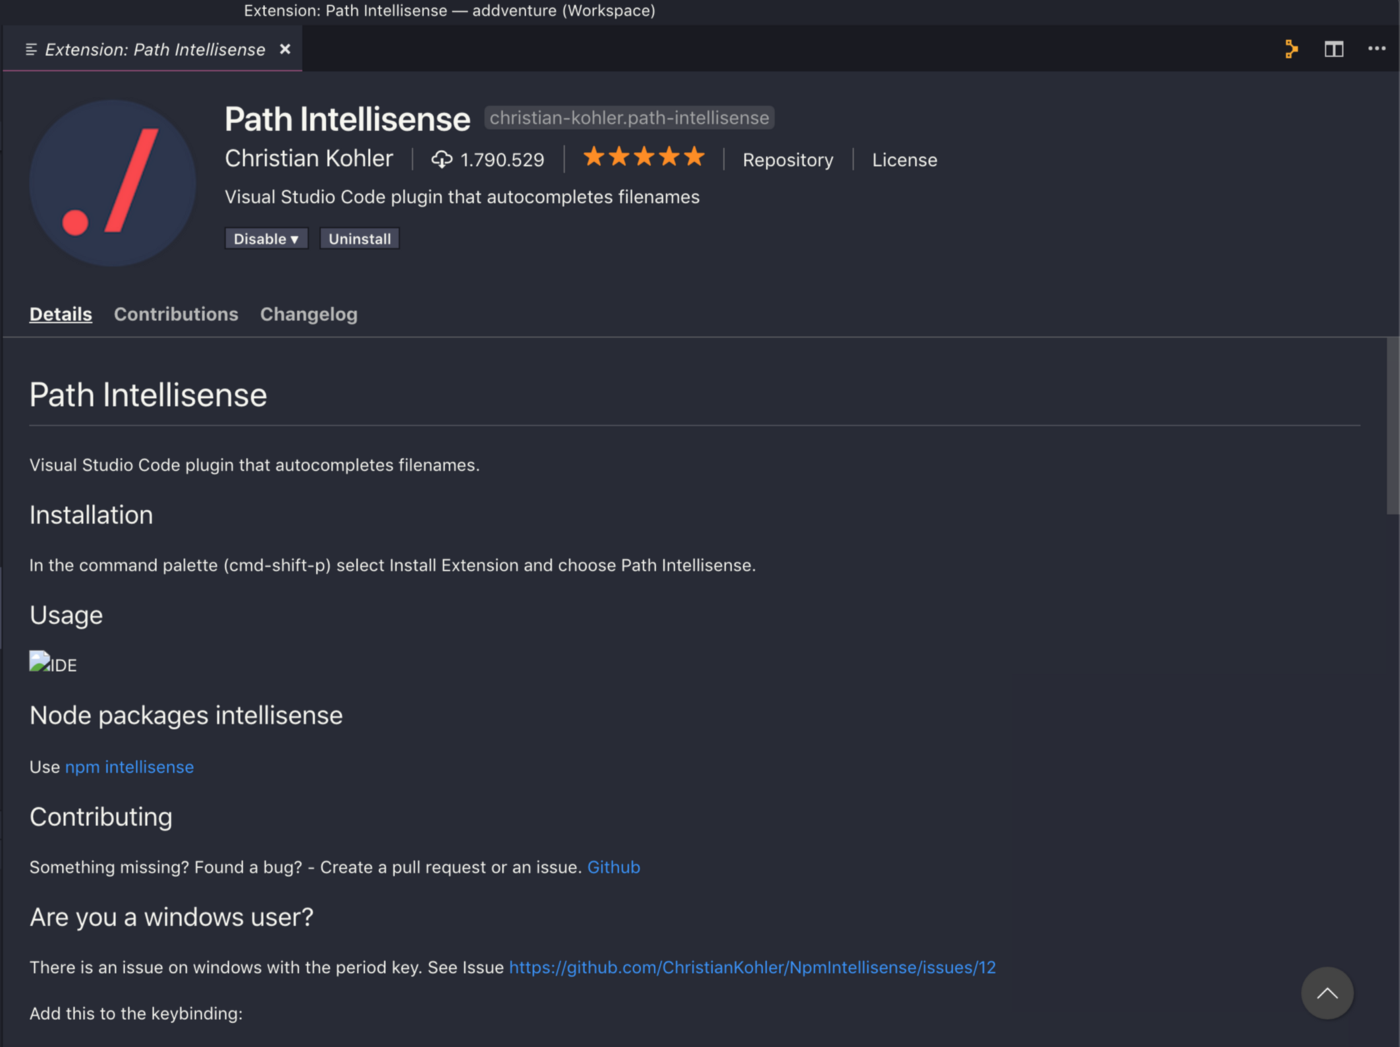
This is a extremely useful extension. When typing in a string, like: “../” it lists your project files to auto-complete.
- Prettier
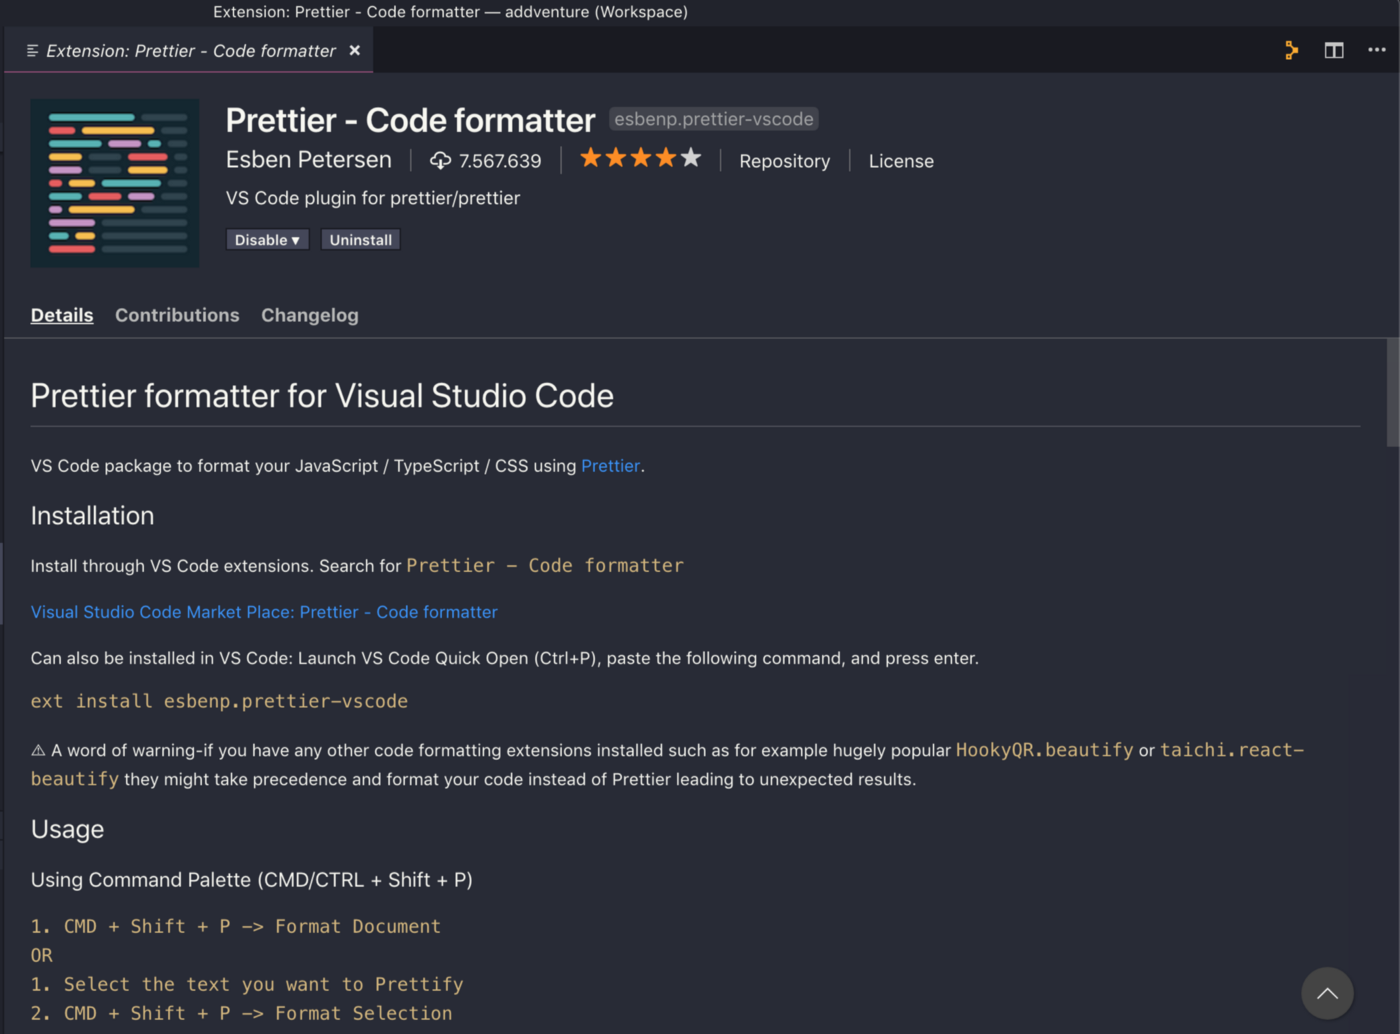
Extension used to format and indent code, and it can be used for multiple languages.
Bonus: Theme
- Dracula Official

This is the theme that I’ve best adapted.
Creating a test project
Finally, the time has come to create a project and check if the setup is correct. Open vscode’s integrated terminal (ctrl+') and follow instructions below:
- Create a directory for your project using the command line:
1
mkdir ~/project-test - Navigate to the created directory, unless you’re not already in it:
1
cd ~/project-test - Create a project using .NET Core CLI (more of CLI’s info is in https://docs.microsoft.com/en-us/dotnet/core/tools/?tabs=netcore2x):
1
dotnet new webapi
At this moment, the project structure was created in ~/project-test (~ means your user’s home folder). You only have to associate the created project in vscode, as it follows:
Click in the “Open Folder” button
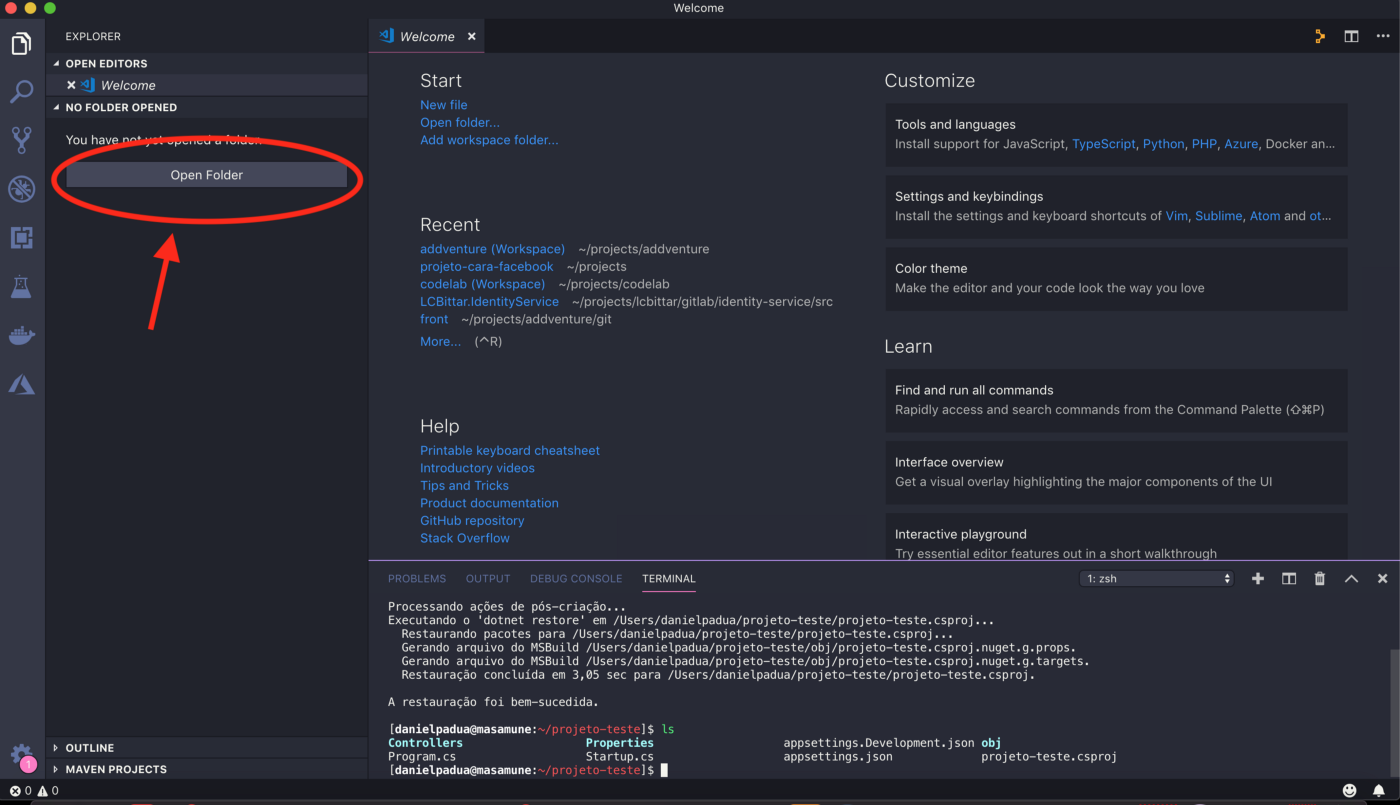
Navigate and open: ~/project-test
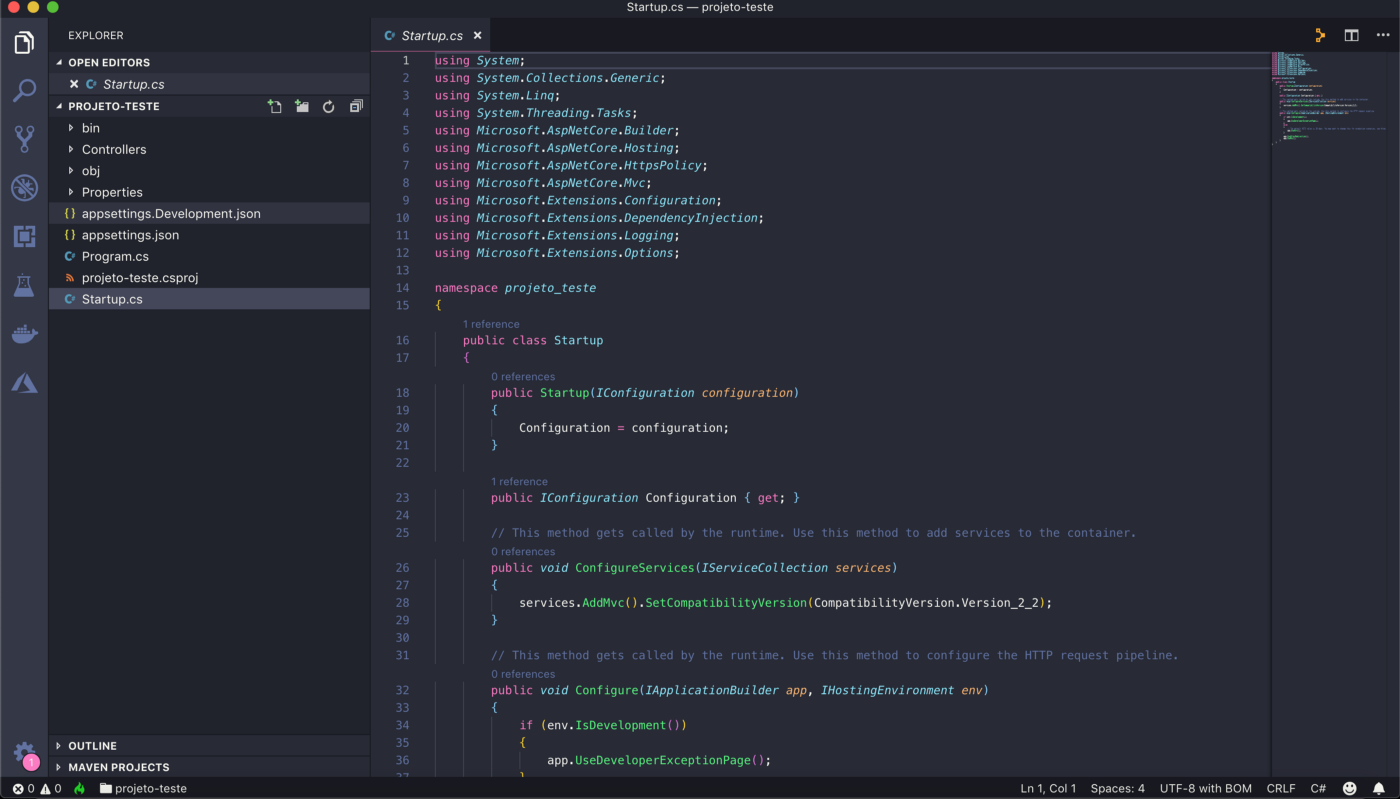
Put a breakpoint in any line of Startup.cs and then we’ll create a debug profile.
Click on the debug icon at the sidebar and then in “No Configuration” and select “Add Configuration…”
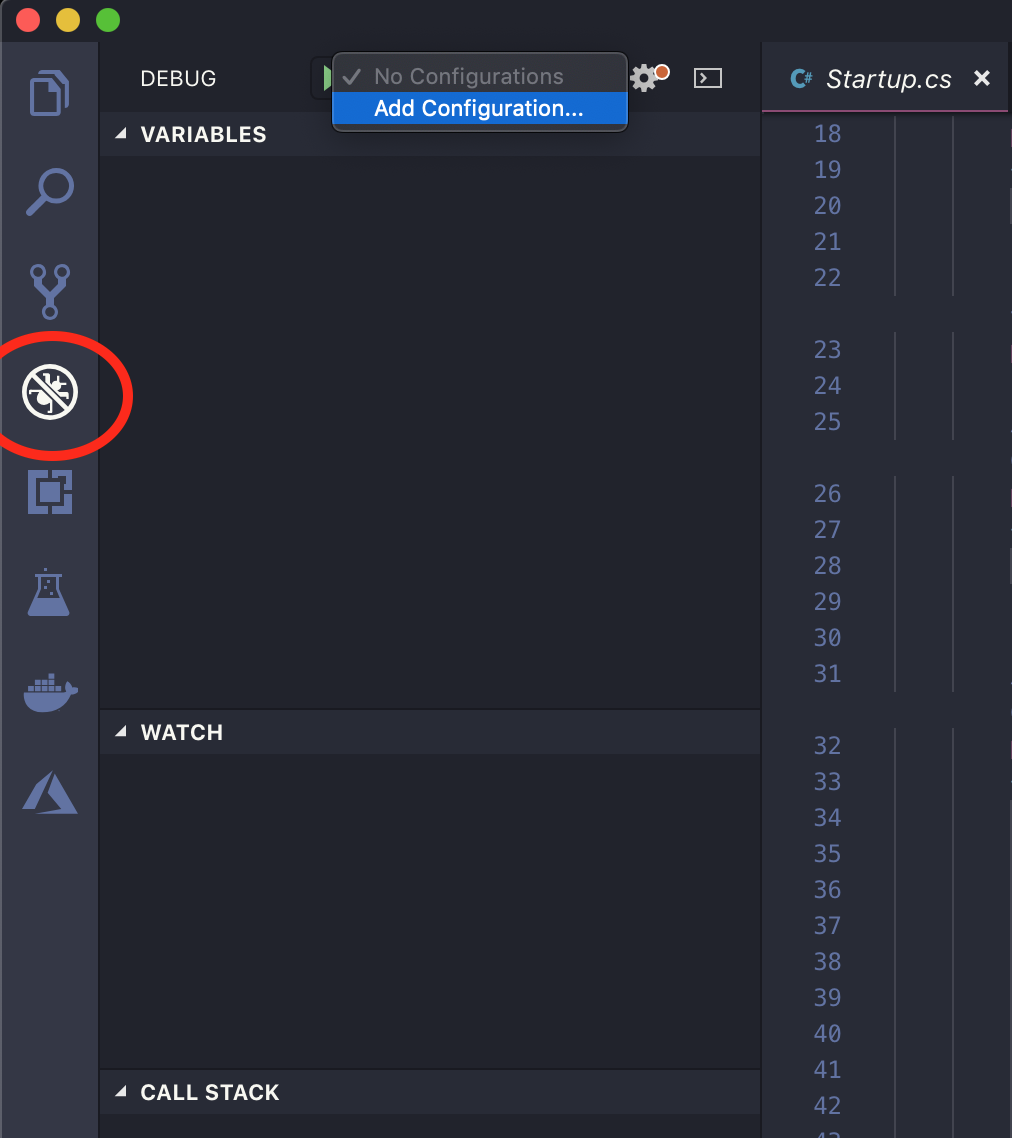
vscode will load the extension, so maybe you’ll have to wait for a while. When it’s ready, select “.NET Core” in the main bar.
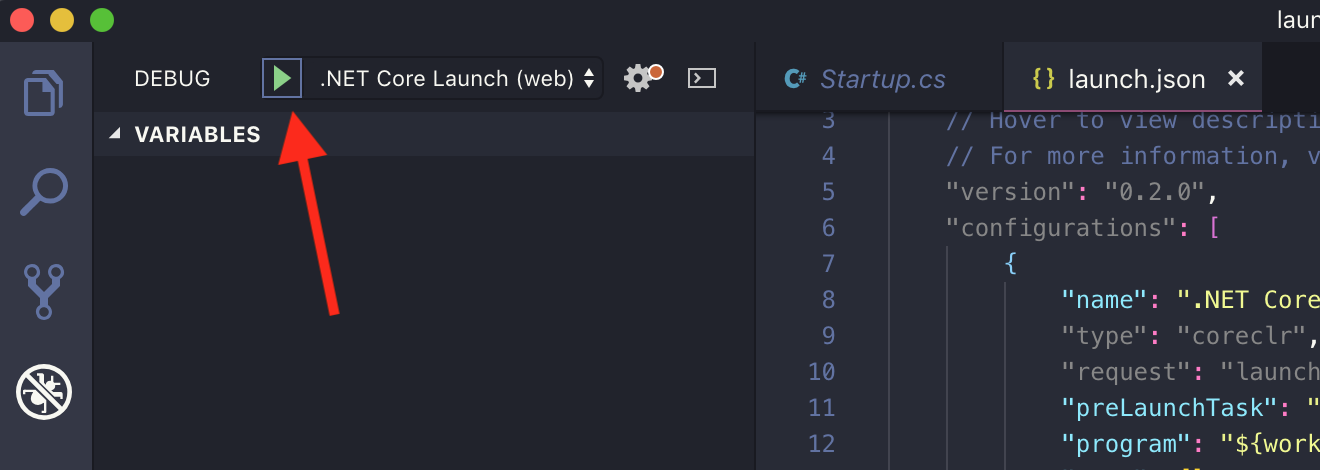
At this moment, you may realize that vscode created a hidden folder inside your project, called: “.vscode” and inside, 2 files: launch.json and tasks.json:
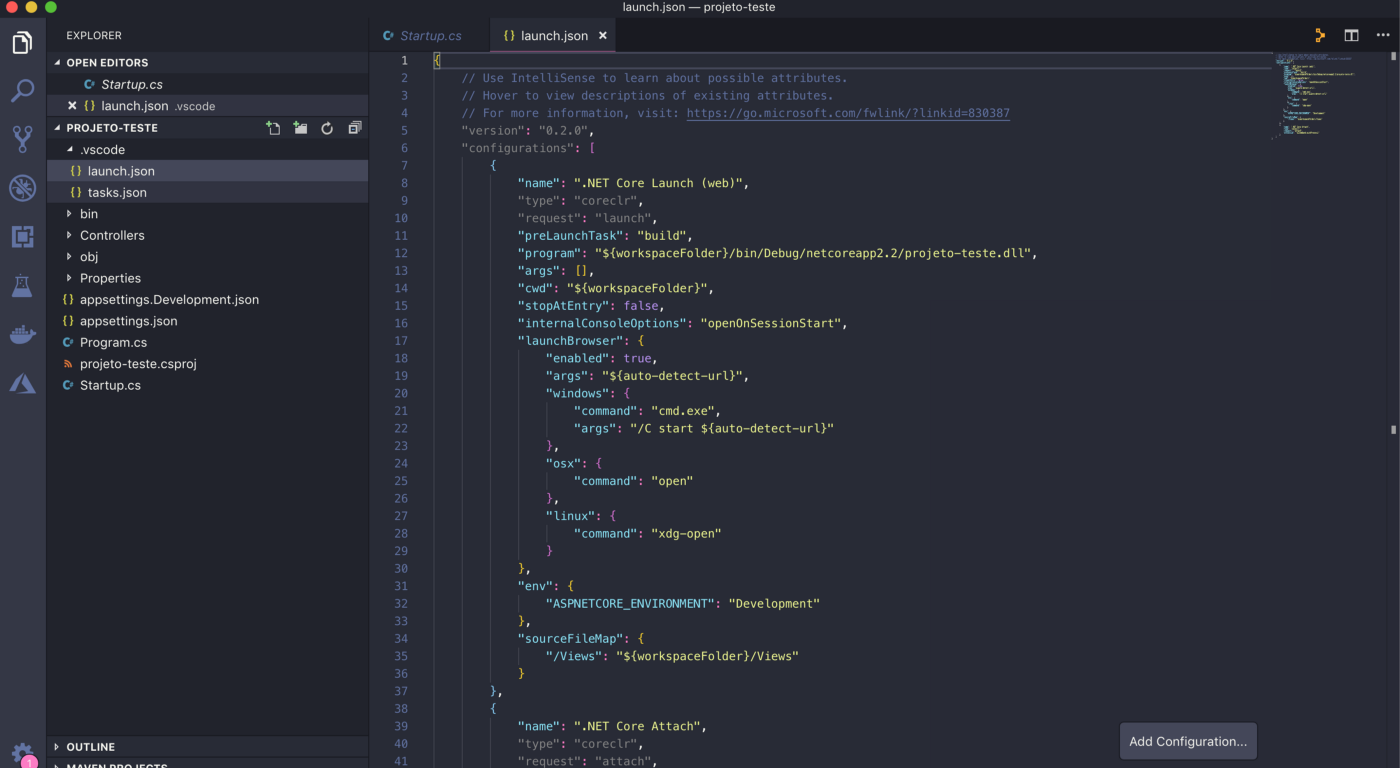
These files tells the extension, the tasks that have to be executed to compile your project, and how the debugger can attach correctly to your app’s process.
The template configuration will do for this test project, so basically you only have to hit run button!
And voilá, the debugger is on:

Conclusion
With this we finish successfully the .NET Core + Visual Studio Code development setup. Remember that vscode can also be used to program in almost any language… So, despite it’s lightweight, it is extremely powerful and versatile.
I recommend using vscode by personal experience. I feel like I was able to obtain more knowledge about .NET Core after I migrated from Visual Studio.
I hope this was useful to you too. See you soon!