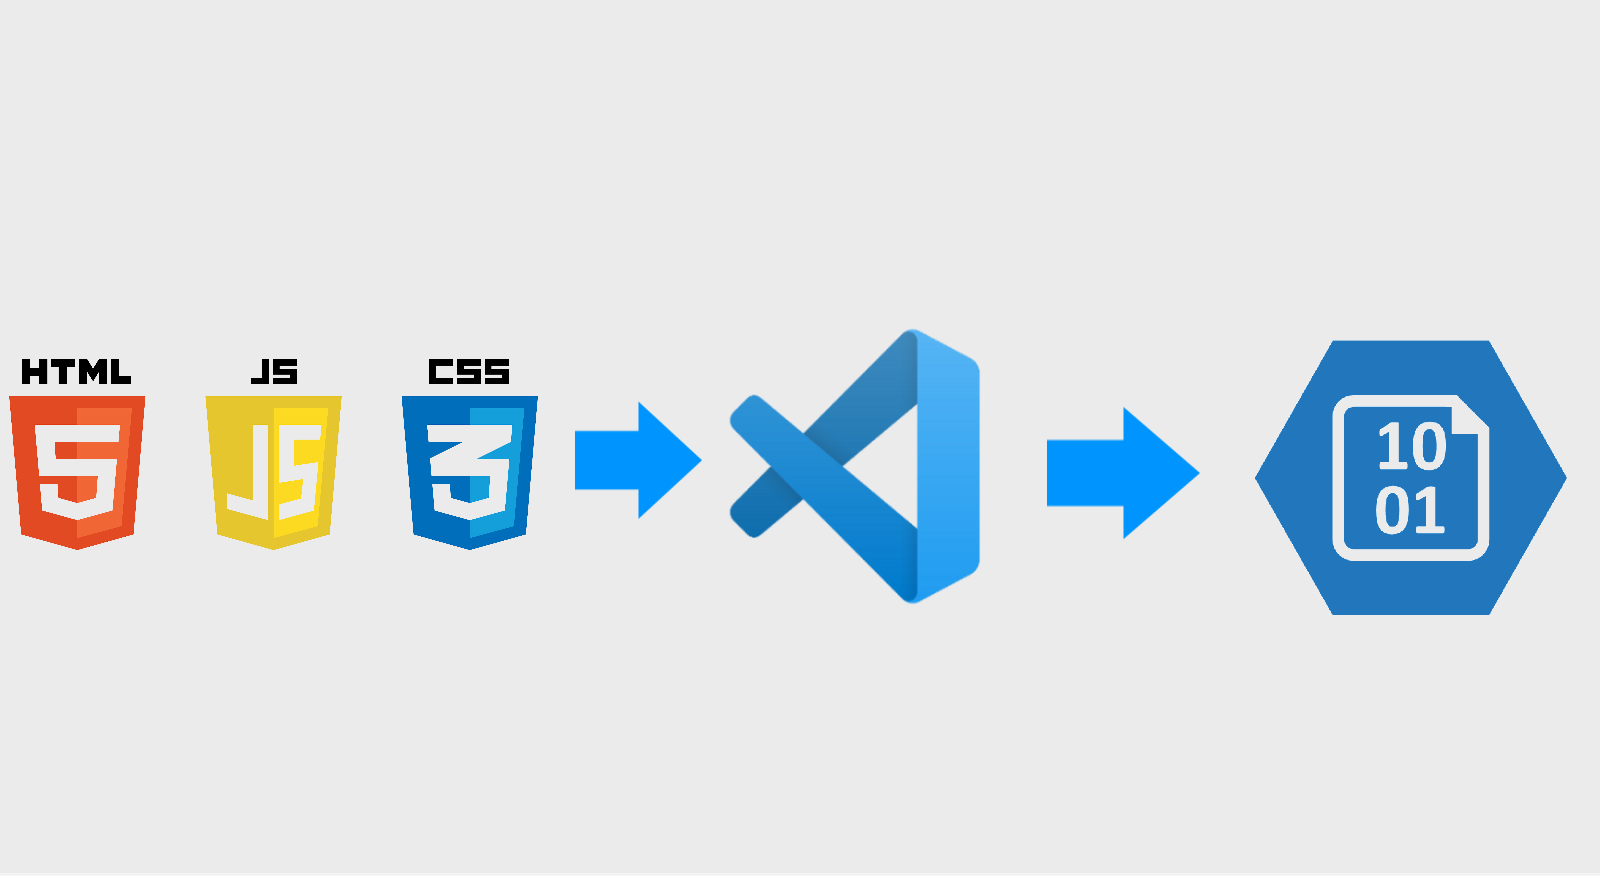
In this article I’ll show how easy is to host and deploy a static web application (that doesn’t require server-side processing) to Azure’s infraestructure making use of Azure Storage and delivering it with Visual Studio Code
Intro
There are times when our front-end projects doesn’t require any kind of server-side processing. When that happens we can make use of completly static web applications such as SPA and MPA. With the advent of javascript frameworks such as react, angular, vue, etc… and the static website generators like gatsbyjs, jekyll, hugo, etc… static websites grown better, faster, cleaner and more able to meet most requirements of any project.
In this introductory article I’ll show how to deploy a simple tictactoe static website to Azure’s infraestructure using Azure Storage and Visual Studio Code. Let’s get to it.
Requirements
Creating a Azure Storage
Azure Storage is Microsoft’s cloud solution to store objects (structured or non-structured). It encompasses several services, for different purposes:
- Azure Blobs: A massive object store used to retain any kind of text or binary data. It also supports analytics big data through Data Lake Storage Gen2
- Azure Files: A completely managed file share for cloud or on-premises environment
- Azure Queues: A reliable area to store data exchange messages between applications and components
- Azure Disks: A storage to retain volumes for Azure Virtual Machines (Azure VMs)
In this article we’ll use Azure Blobs service, that will store all our static website files.
First of all, let’s create a resource group to separate this guide’s resources from all your possible other resources. Access Microsoft Azure Portal, log in and click Resource Groups in favorites menu (left side of the screen), or use the search bar. Next click Create button:
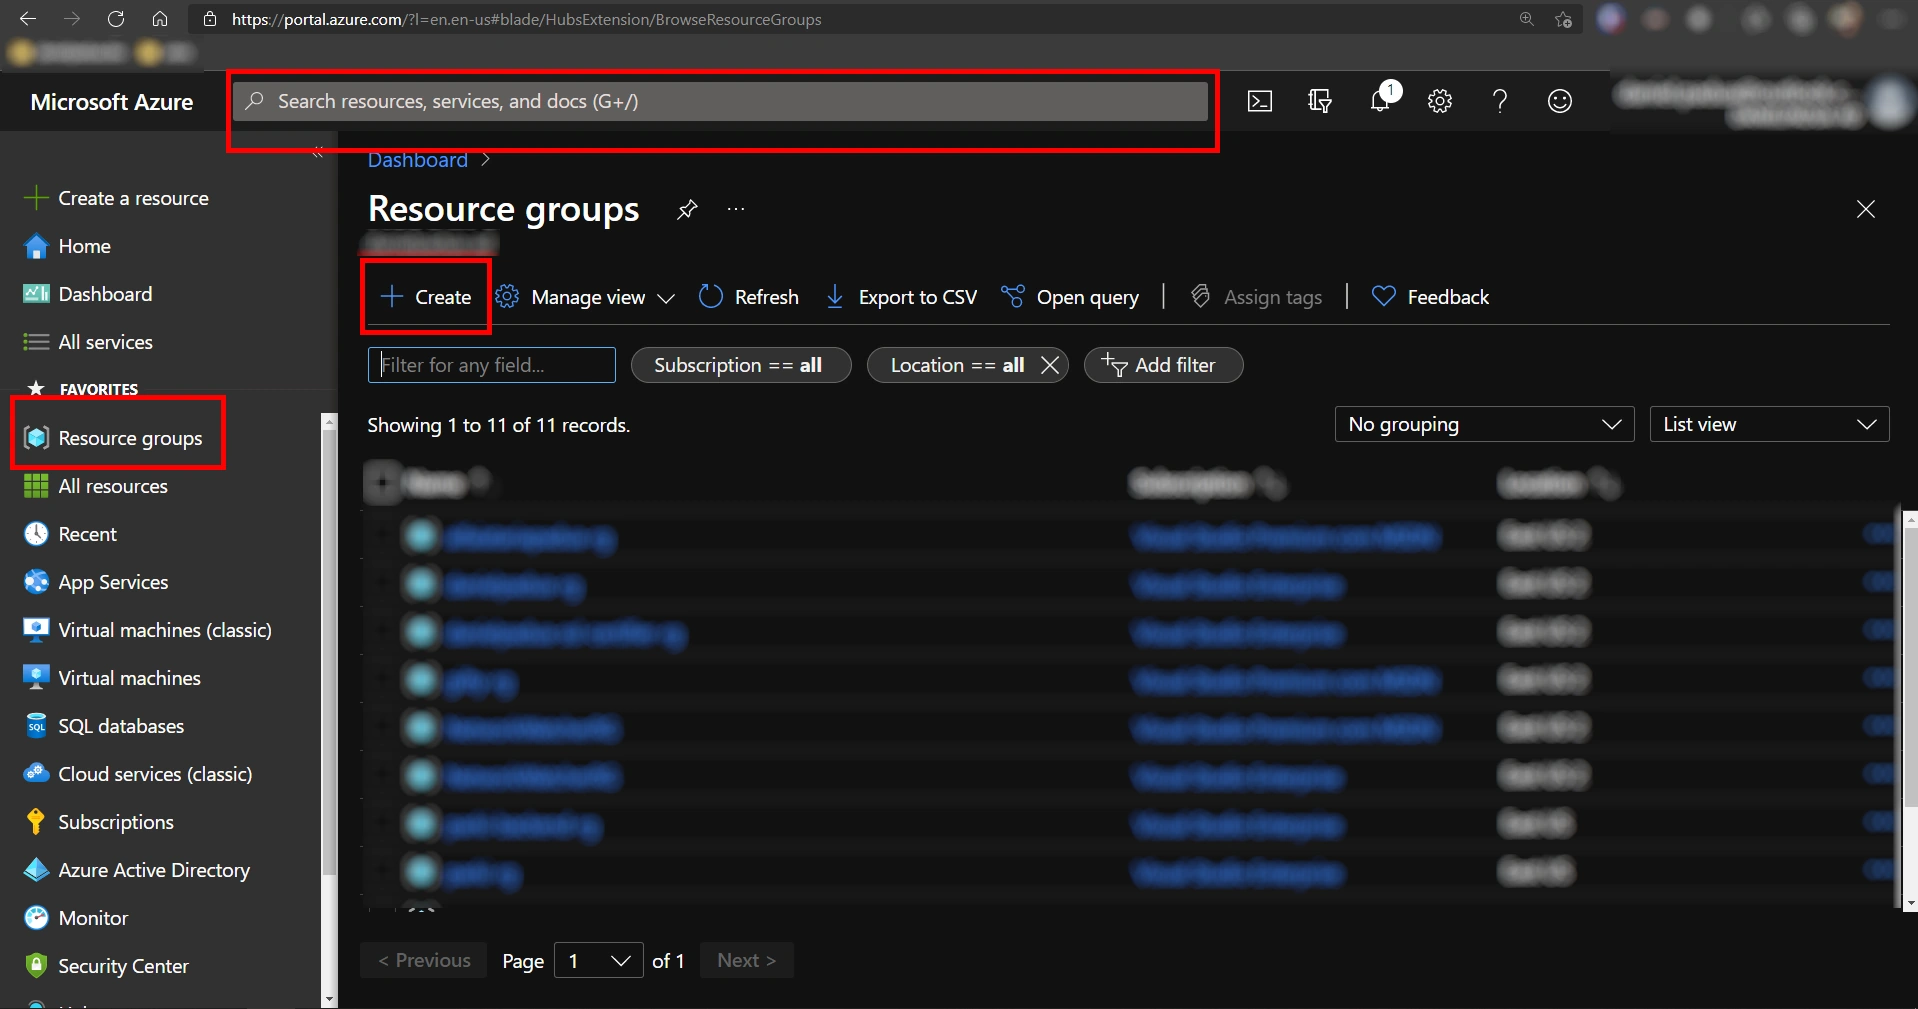 Creating a Resource Group in Azure’s Portal
Choose the Resource Group name and the datacenter location and click Create again:
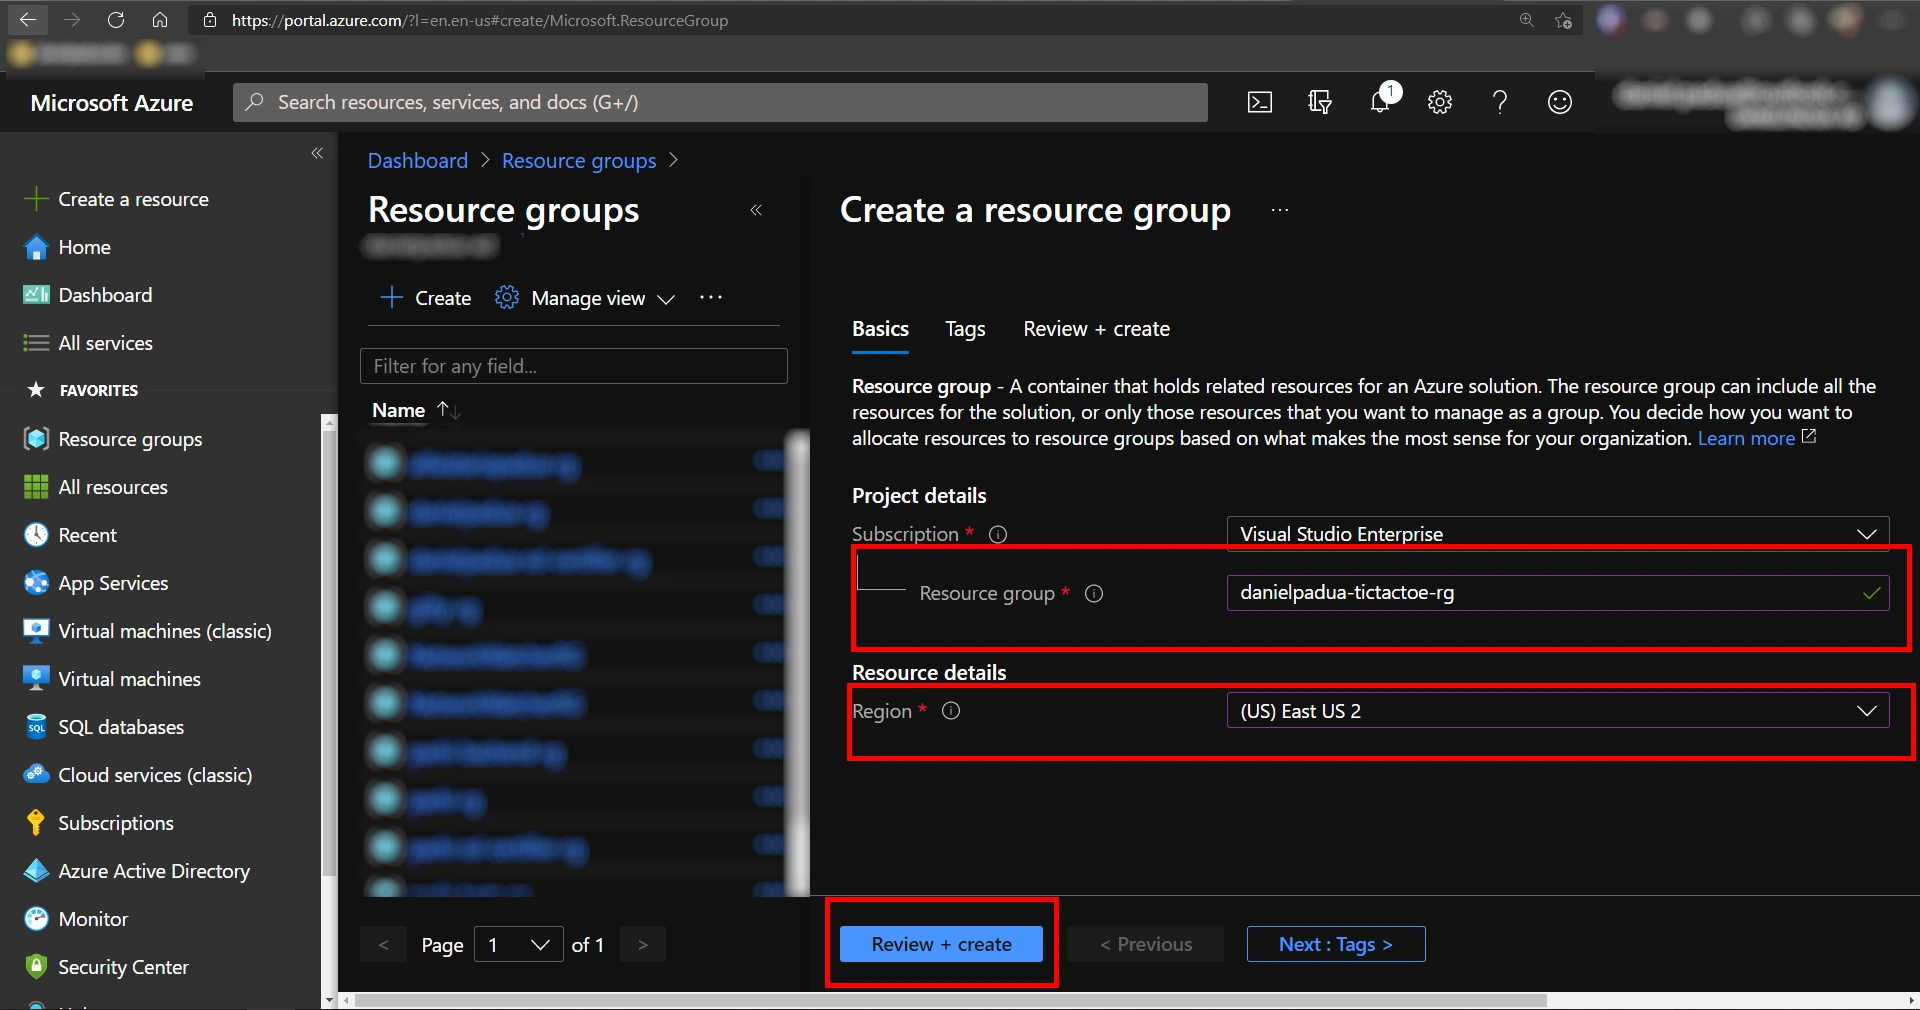 Filling Resource Group information
Ensure that you are navigating inside the recently created Resource Group and click Create > Marketplace to add a resource:
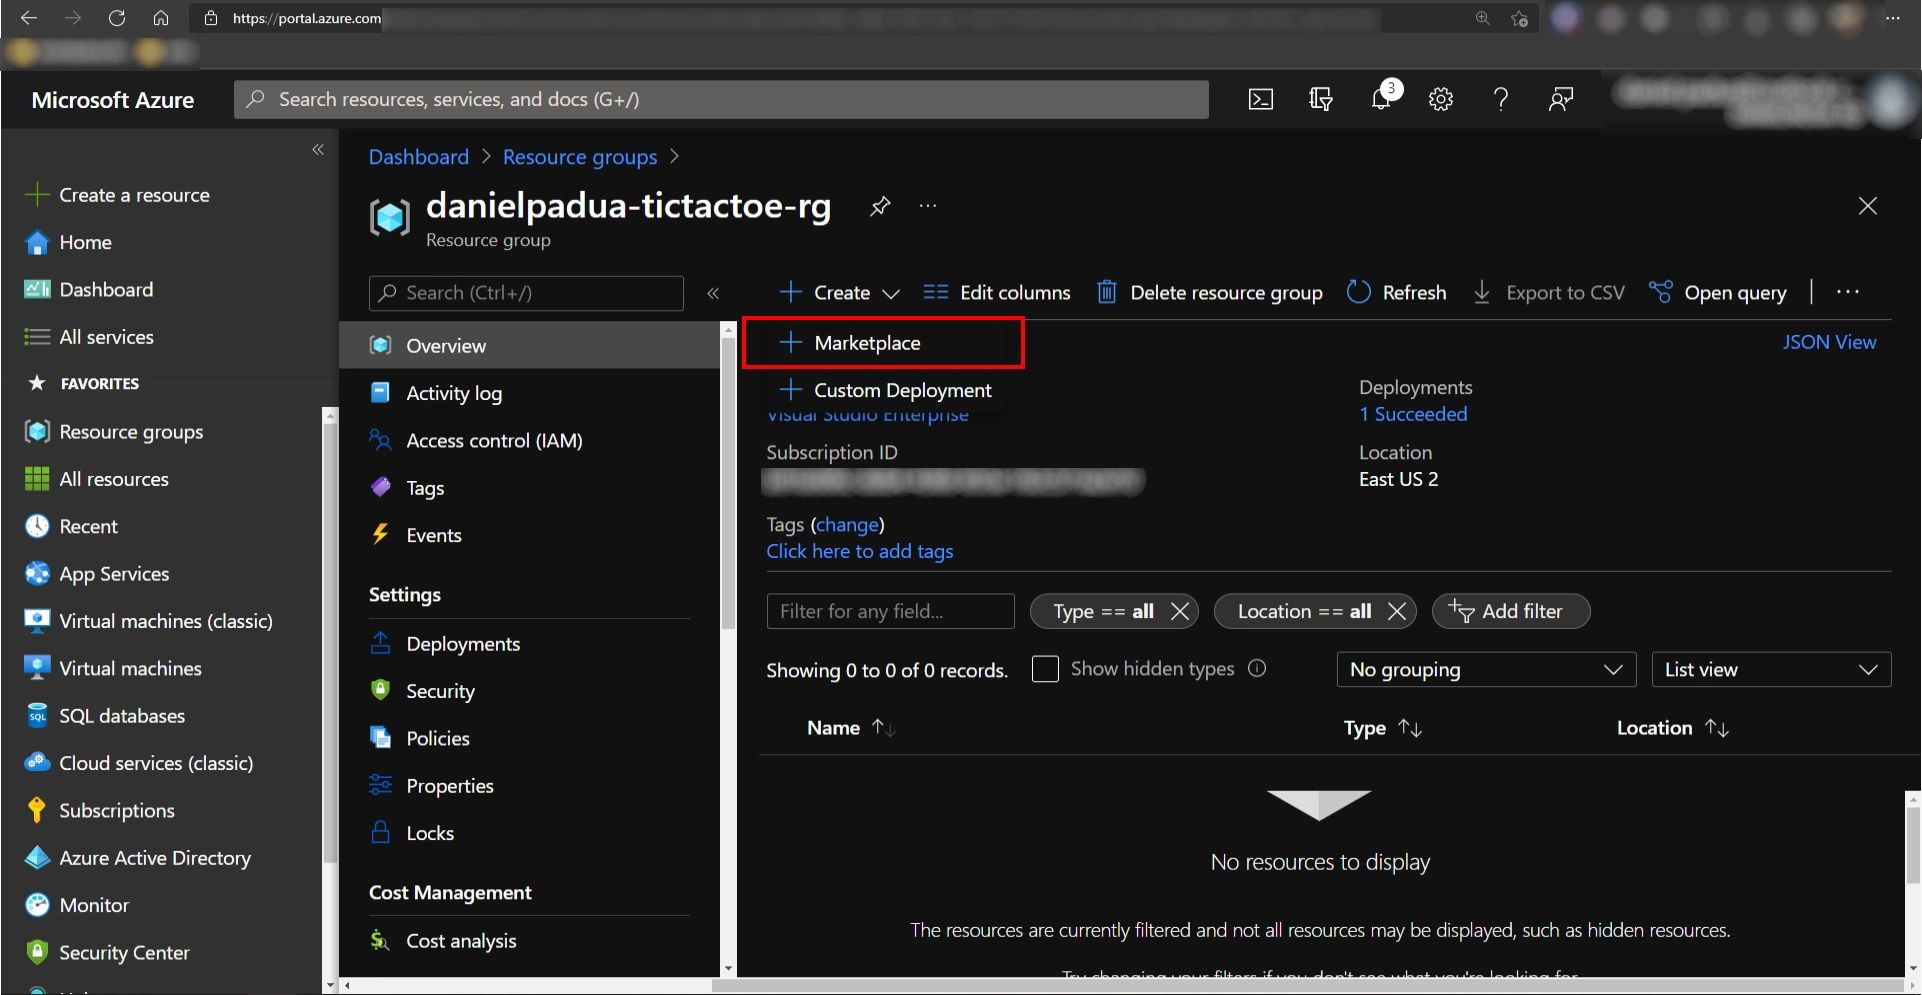 Adding a resource
Search for “storage” and hit enter, then select “Storage Account” from Microsoft and click Create:
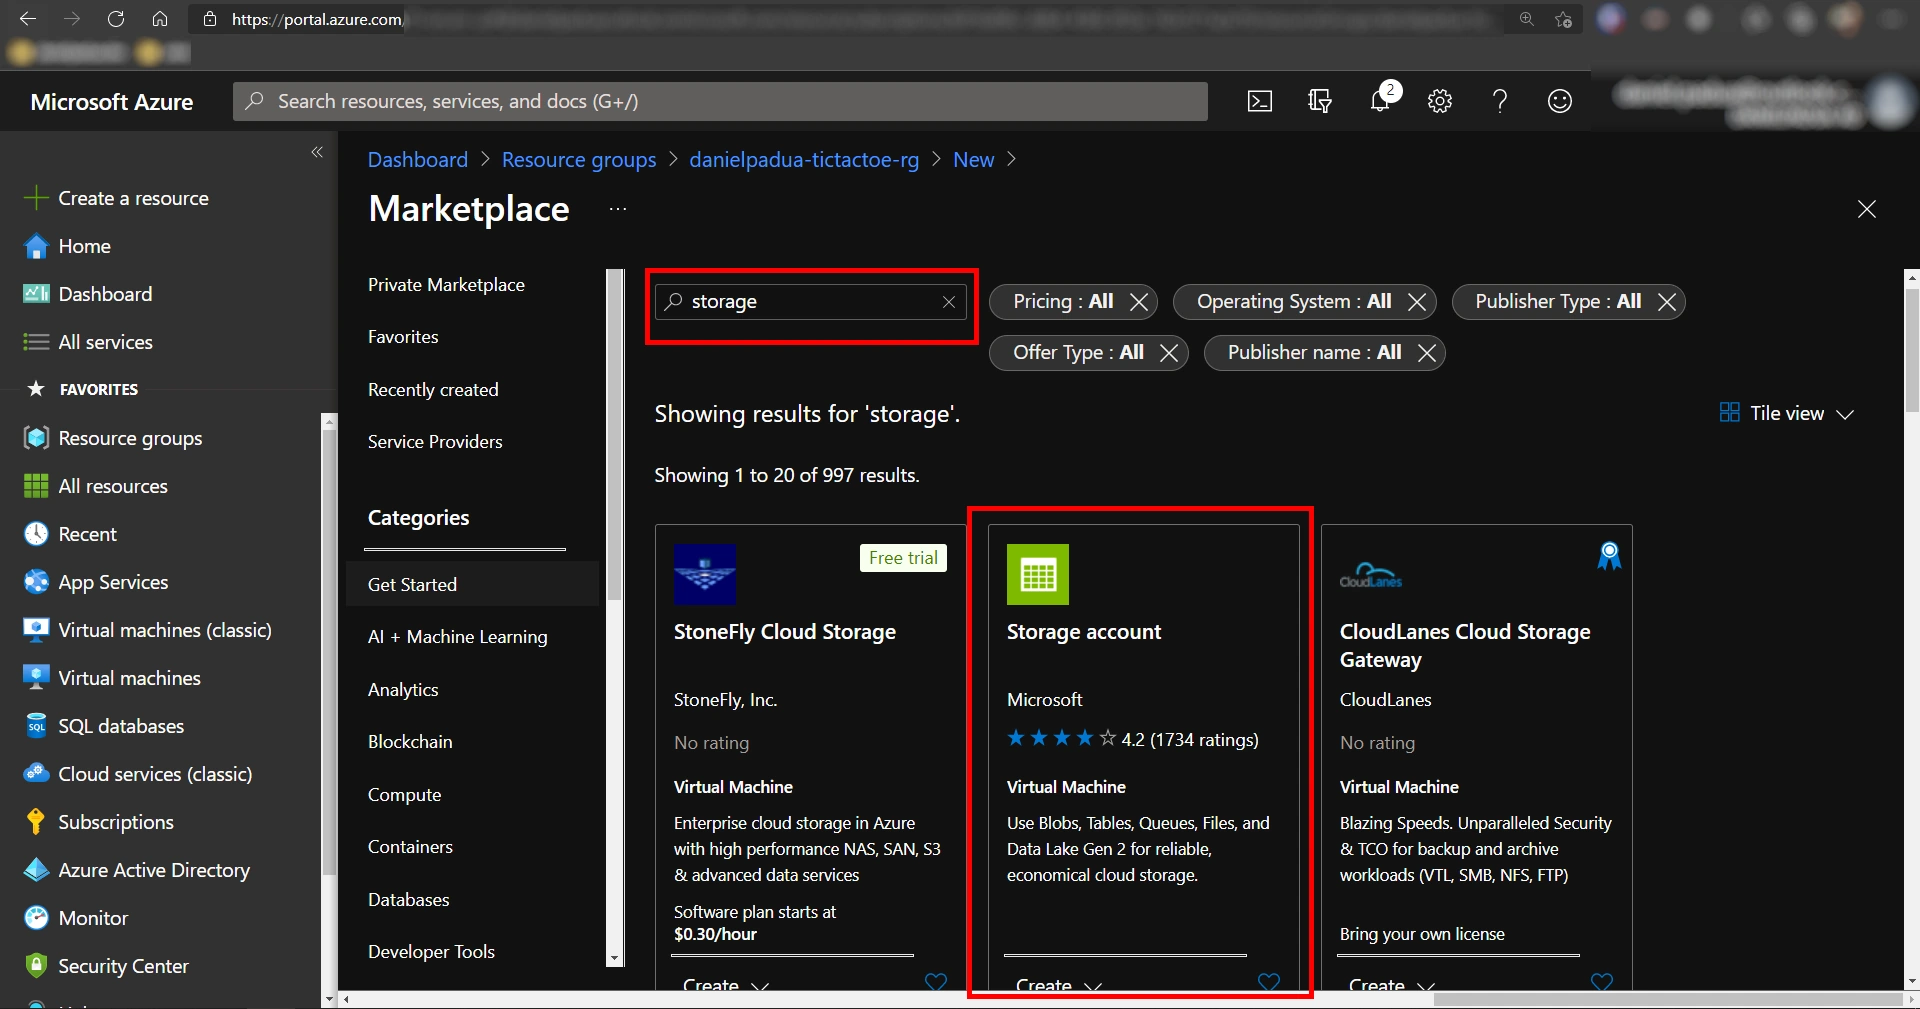 Search for Azure Storage
Fill all the required fields as the following image and click Review + create:
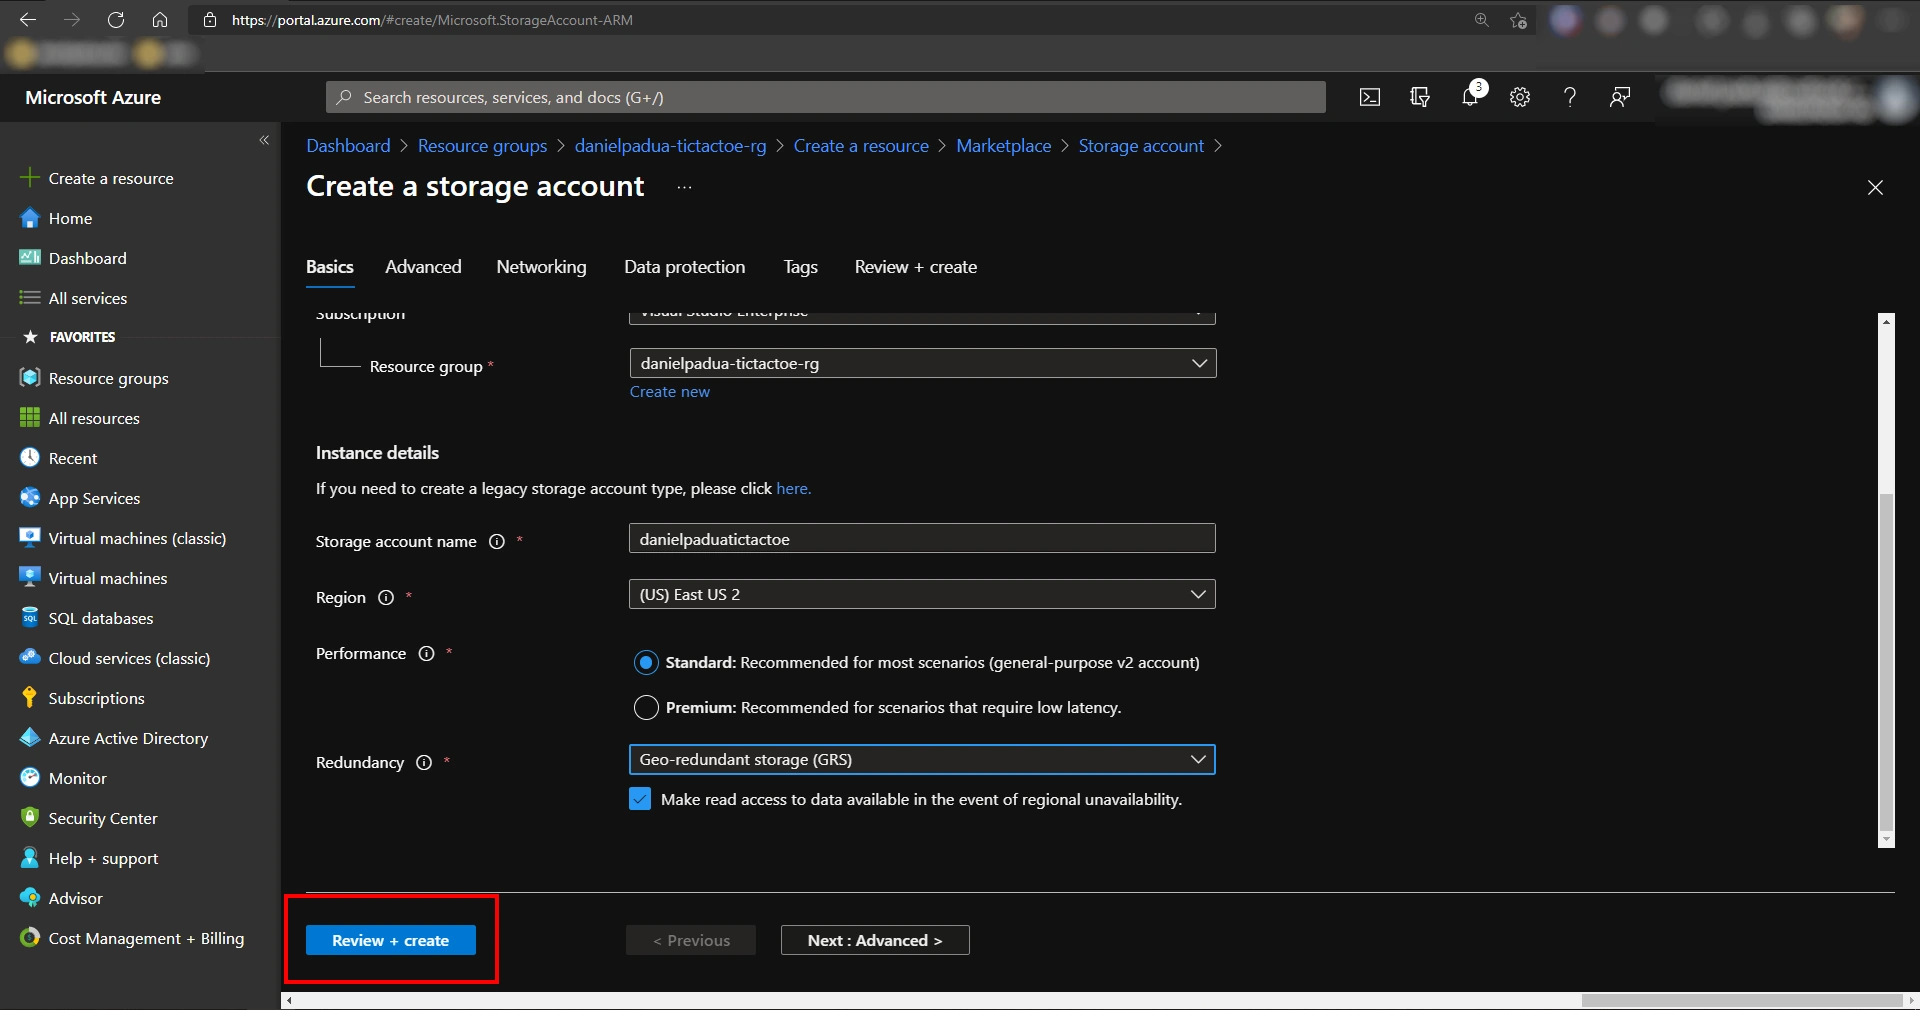 Filling storage information
Storage name must be globally unique (accross all storages registered in Azure), it must be 3 to 24 characters long and can contain only lowercase letters and numbers
Leave all informations with default values and click Create:
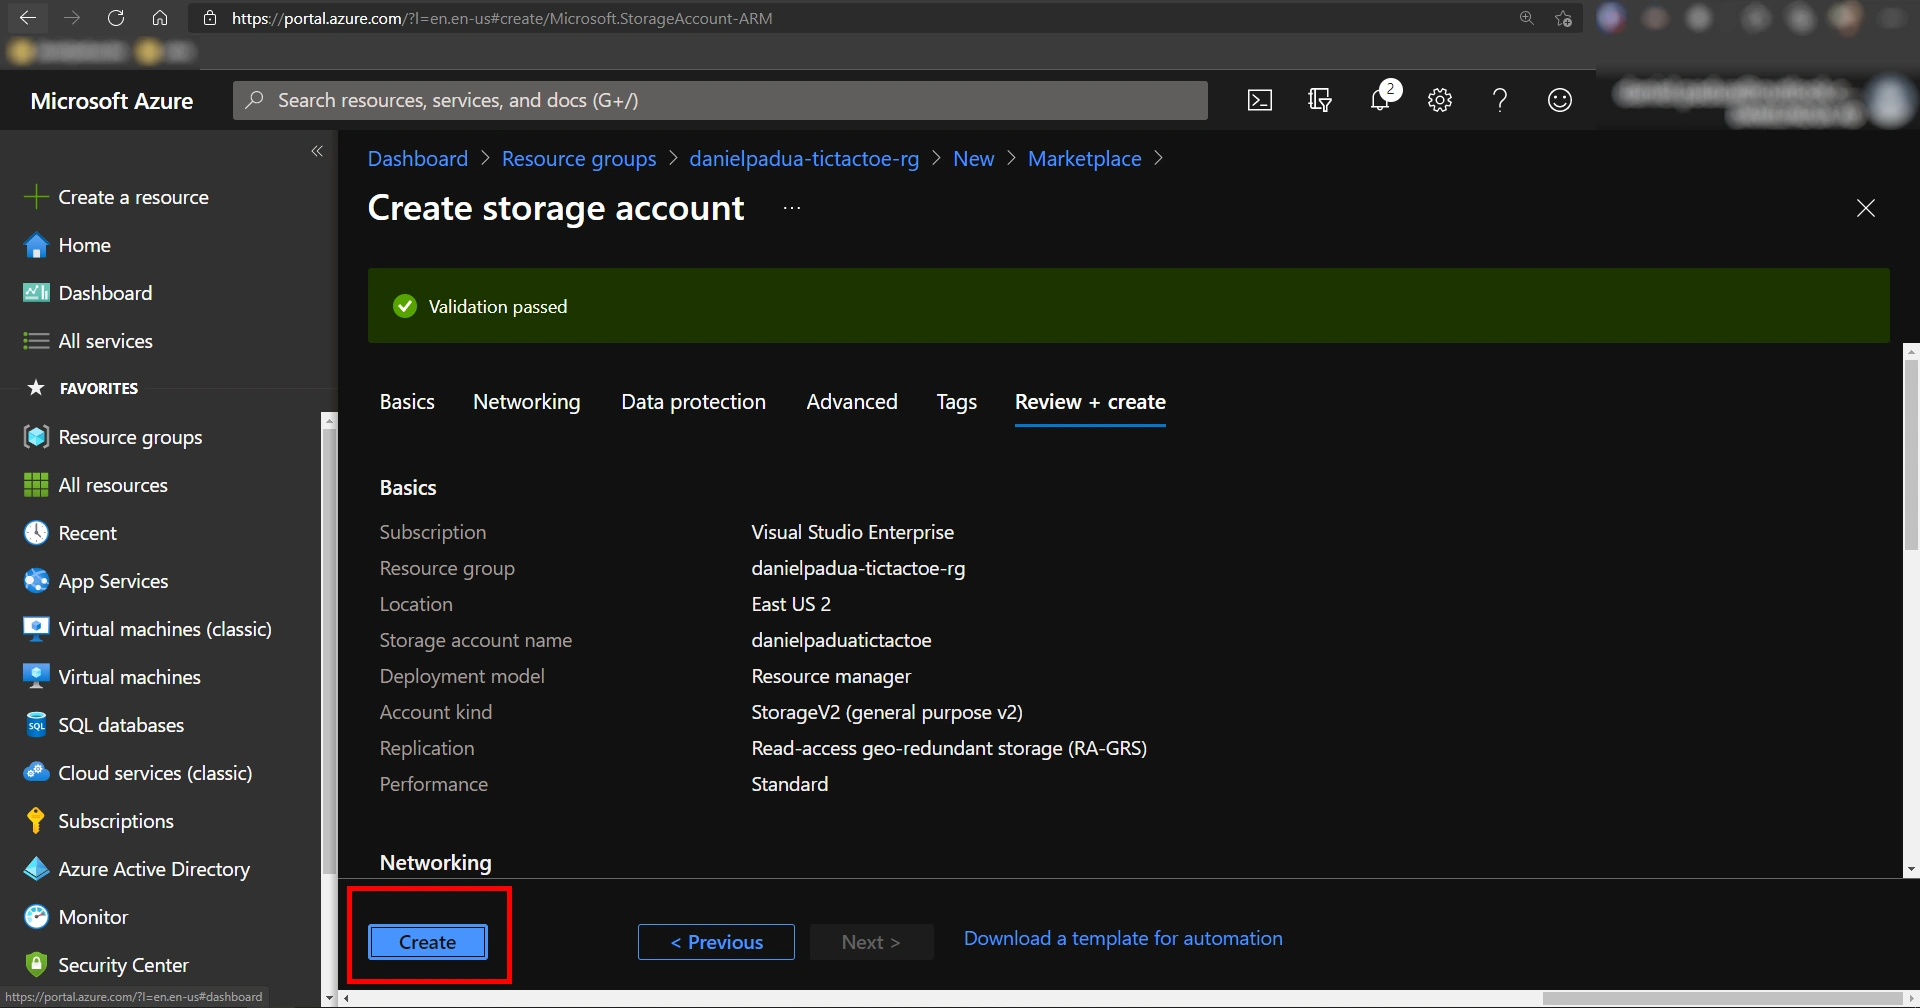 Adding the storage
Azure will begin the creation of the storage and when it’s ready, the following screen will be presented. Click the button Go to resource:
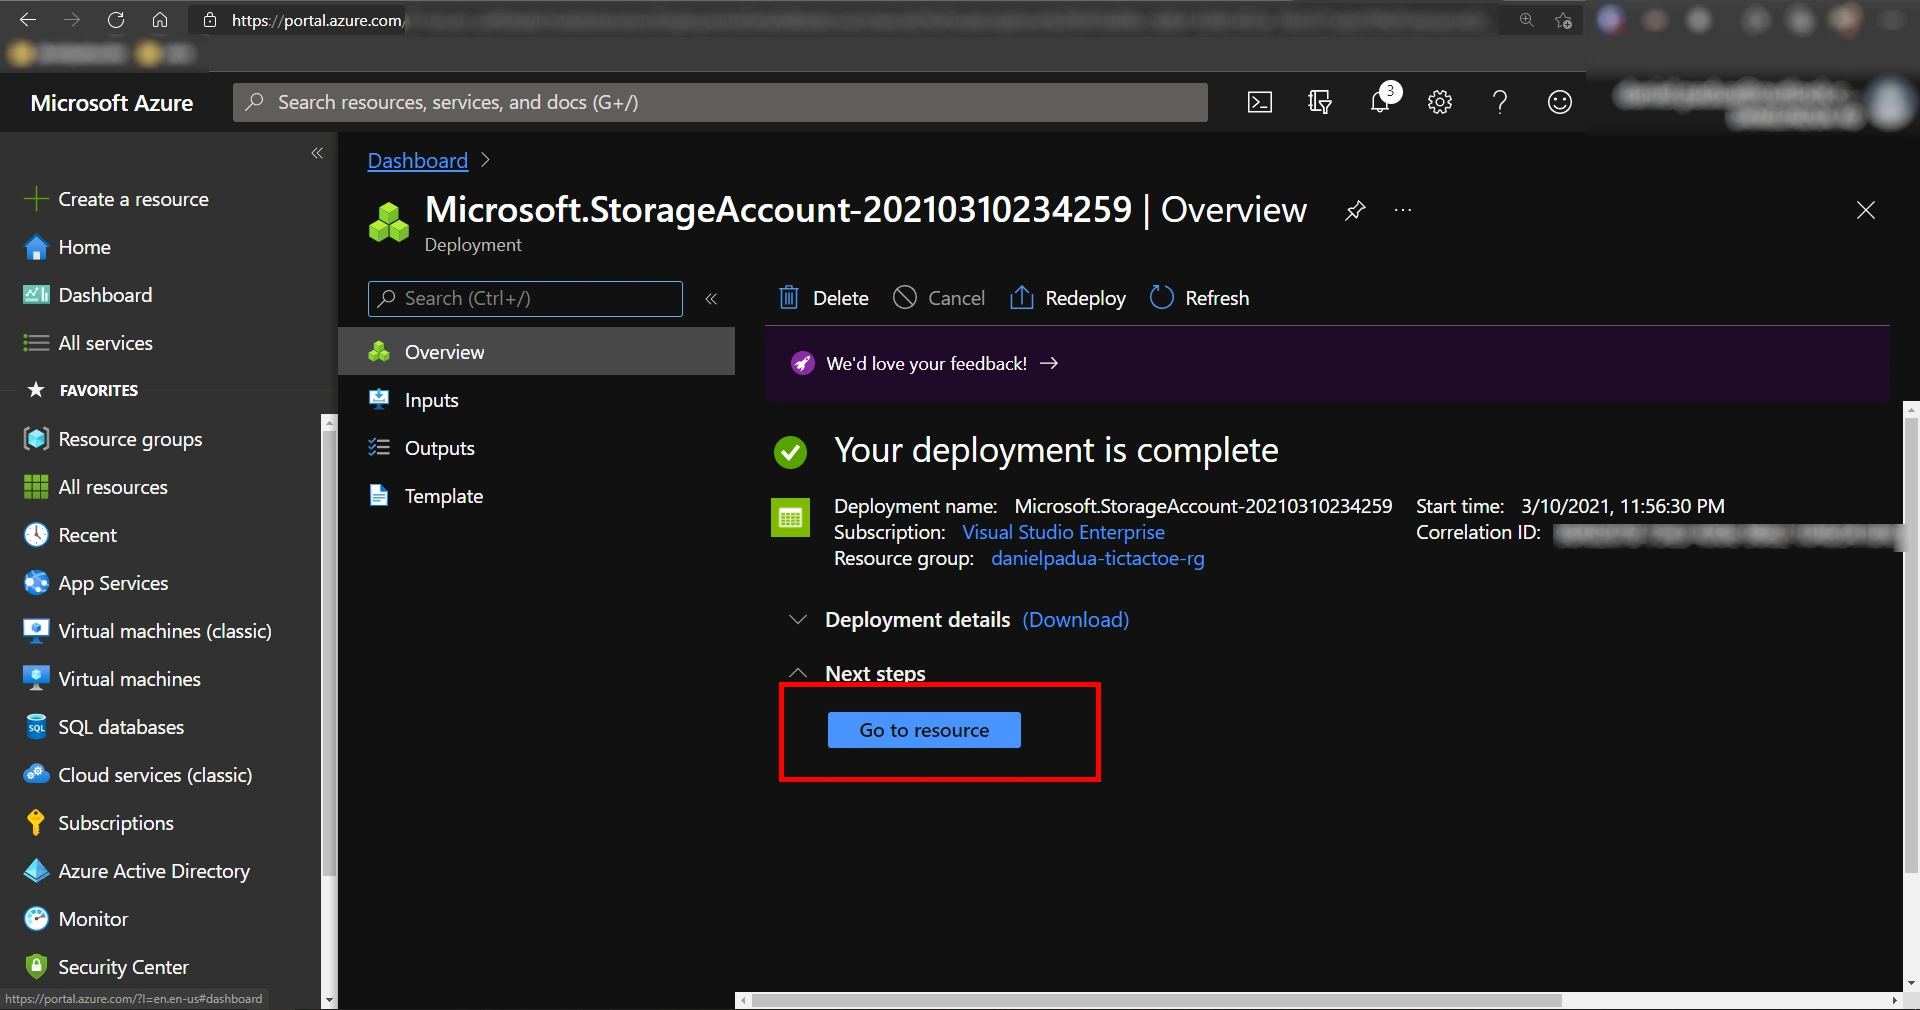 Storage successfully created
If everything is ok, your storage dashboard will look like this:
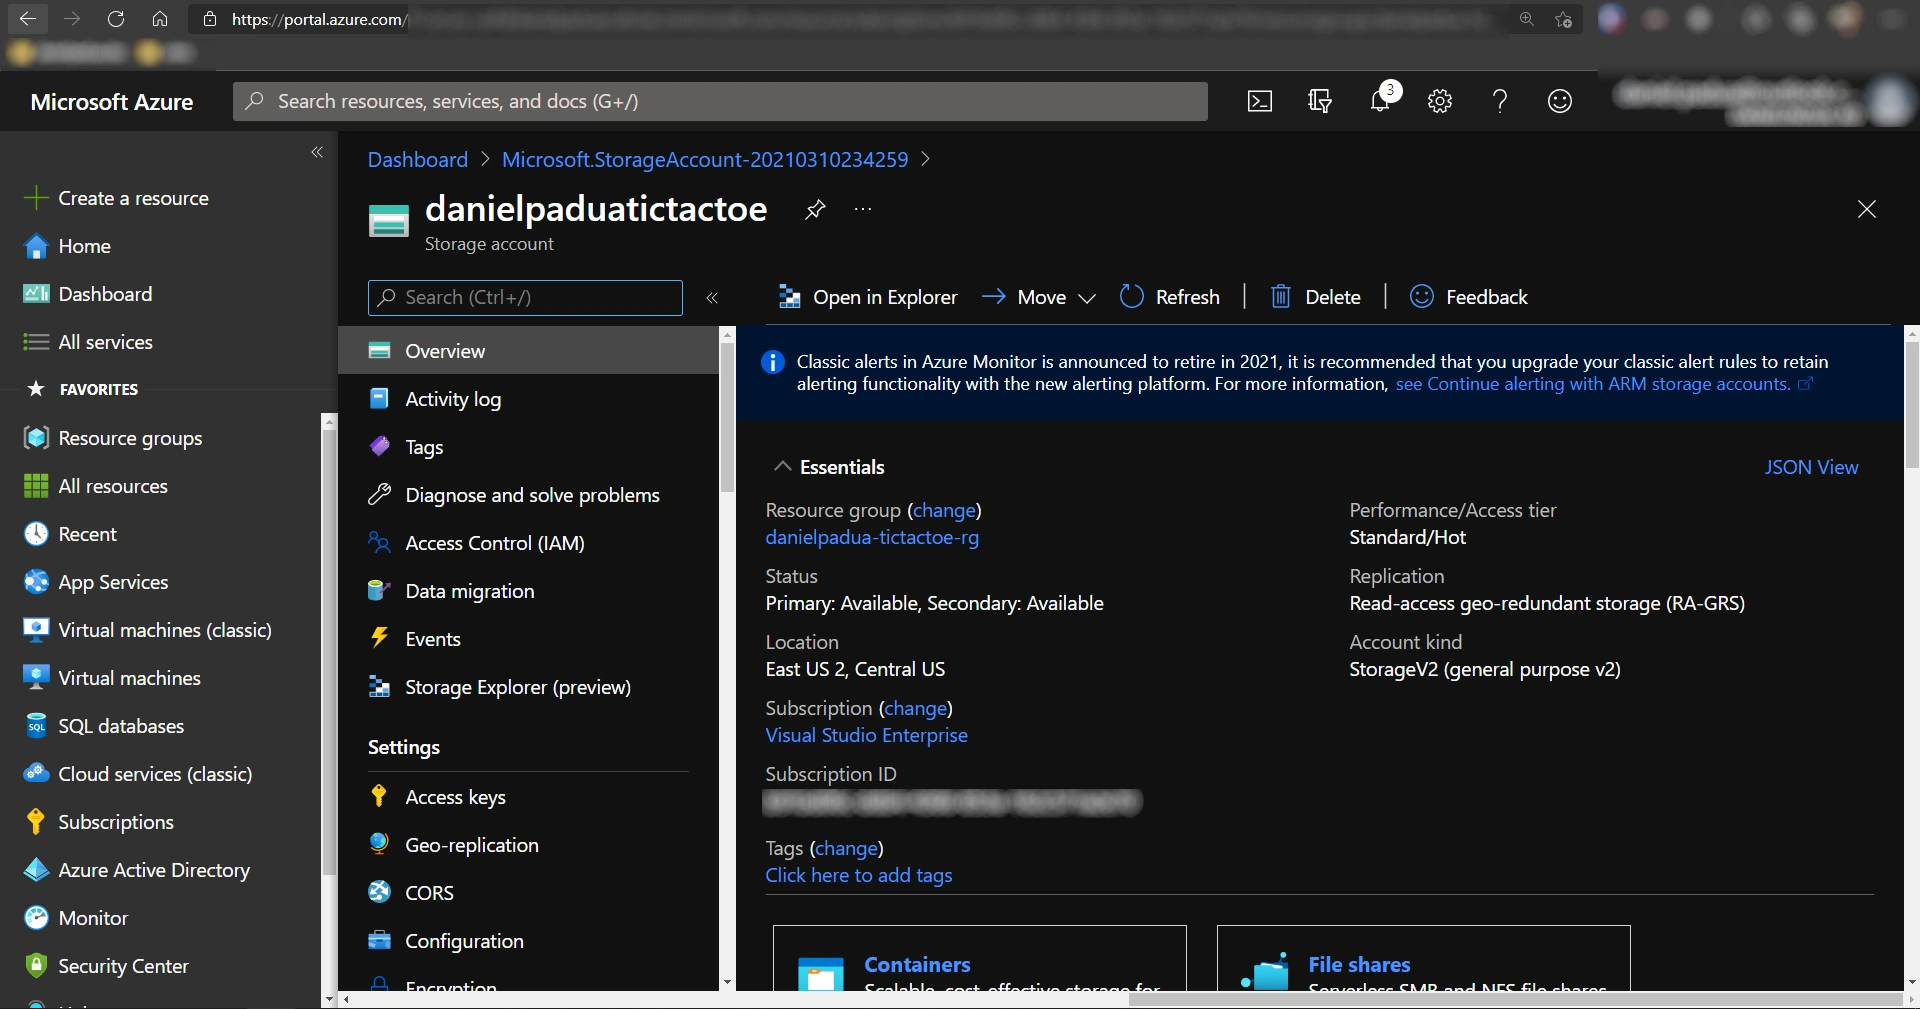 Storage’s dashboard
Installing Azure Storage extension
With the required infraestructure to store our static website ready, it’s time to ensure that your Visual Studio Code have the required extensions to publish your project files to the recently created Azure Storage. So, open your vscode, look for Extensions in the left side menu or simply press ctrl+shift+X and search for azure storage:
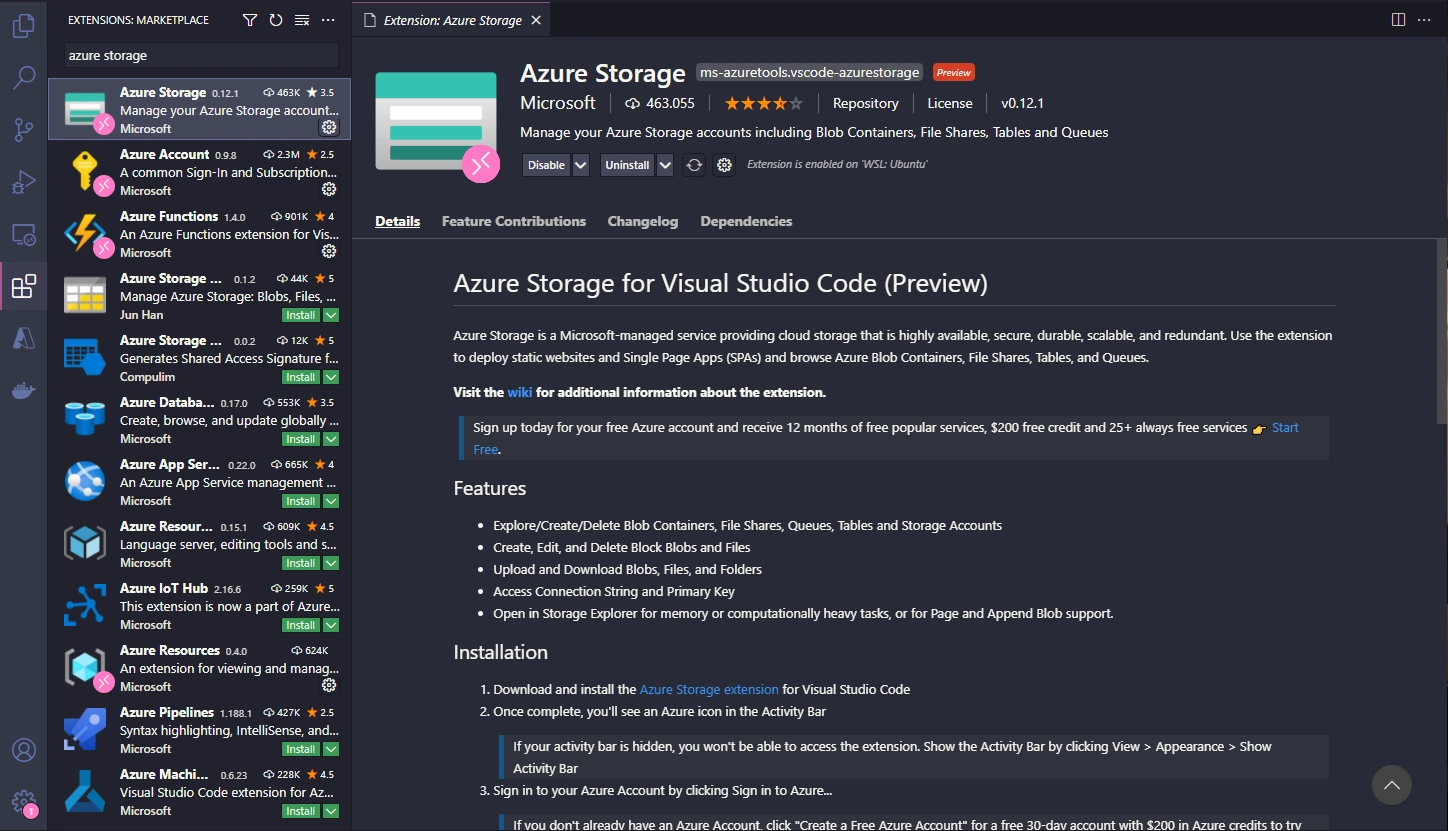 Searching for azure storage extension
Or, you can click this link then click Install.
This extension will automatically install Azure Account extension, which will create Azure menu in screen’s left side. Click it and log in using your Azure email and password, follow the steps the extension show you and make sure your account is logged in and your subscriptions are showing, like this:
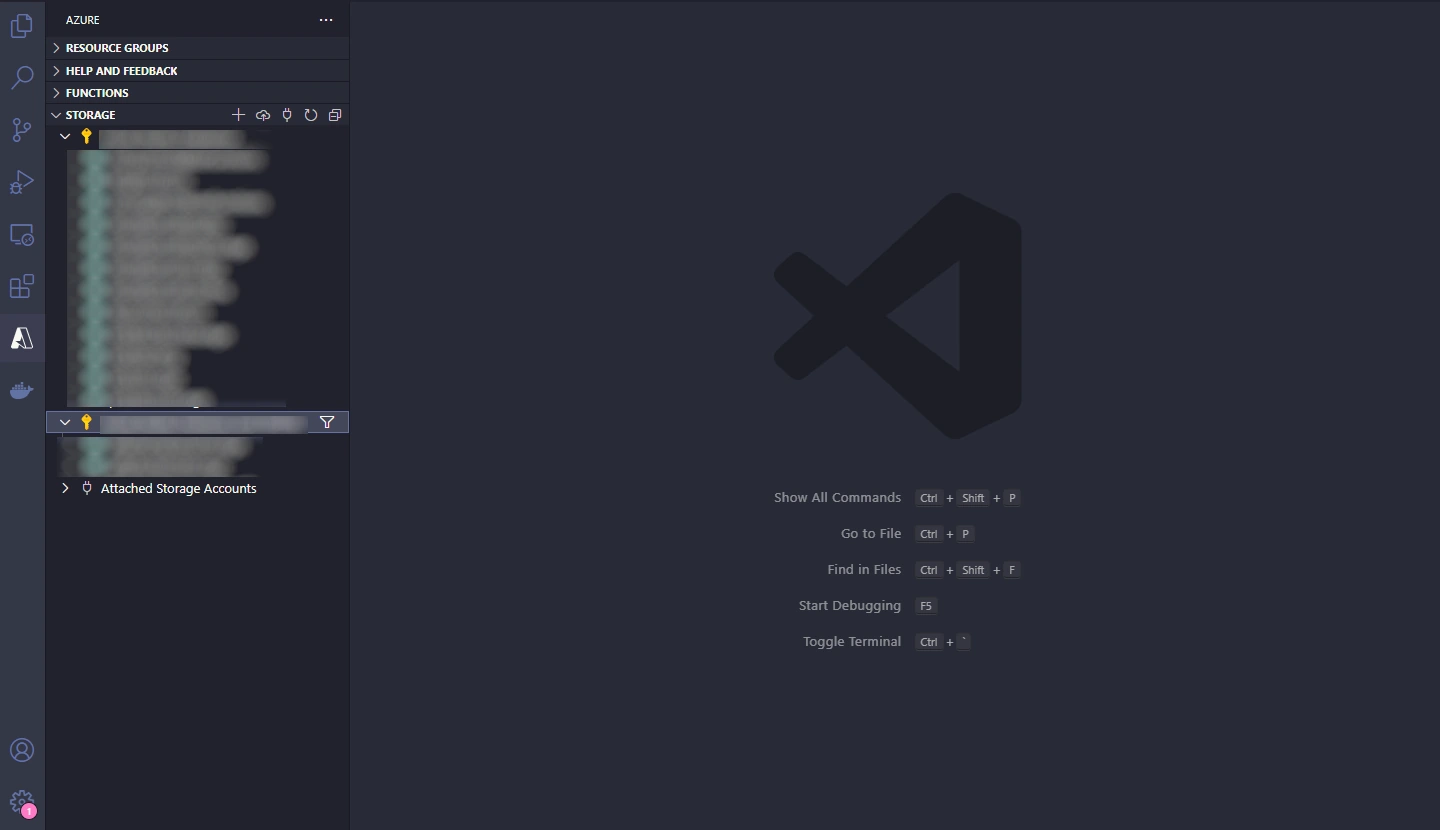 Azure Account logged in
Cloning and deploying the app
Now let’s get our tictactoe static website ready to deploy to Azure. In Visual Studio Code open the terminal (superior menu > terminal > new terminal or ctrl+shift+` or cmd+shift+` in mac) navigate to a directory of your preference to store the project. Then clone the project and navigate to it with:
1
2
git clone https://github.com/danielpadua/js-tic-tac-toe.git my-static-website
cd my-static-website
Now open the created directory in Visual Studio Code via File > Open Folder > ...:
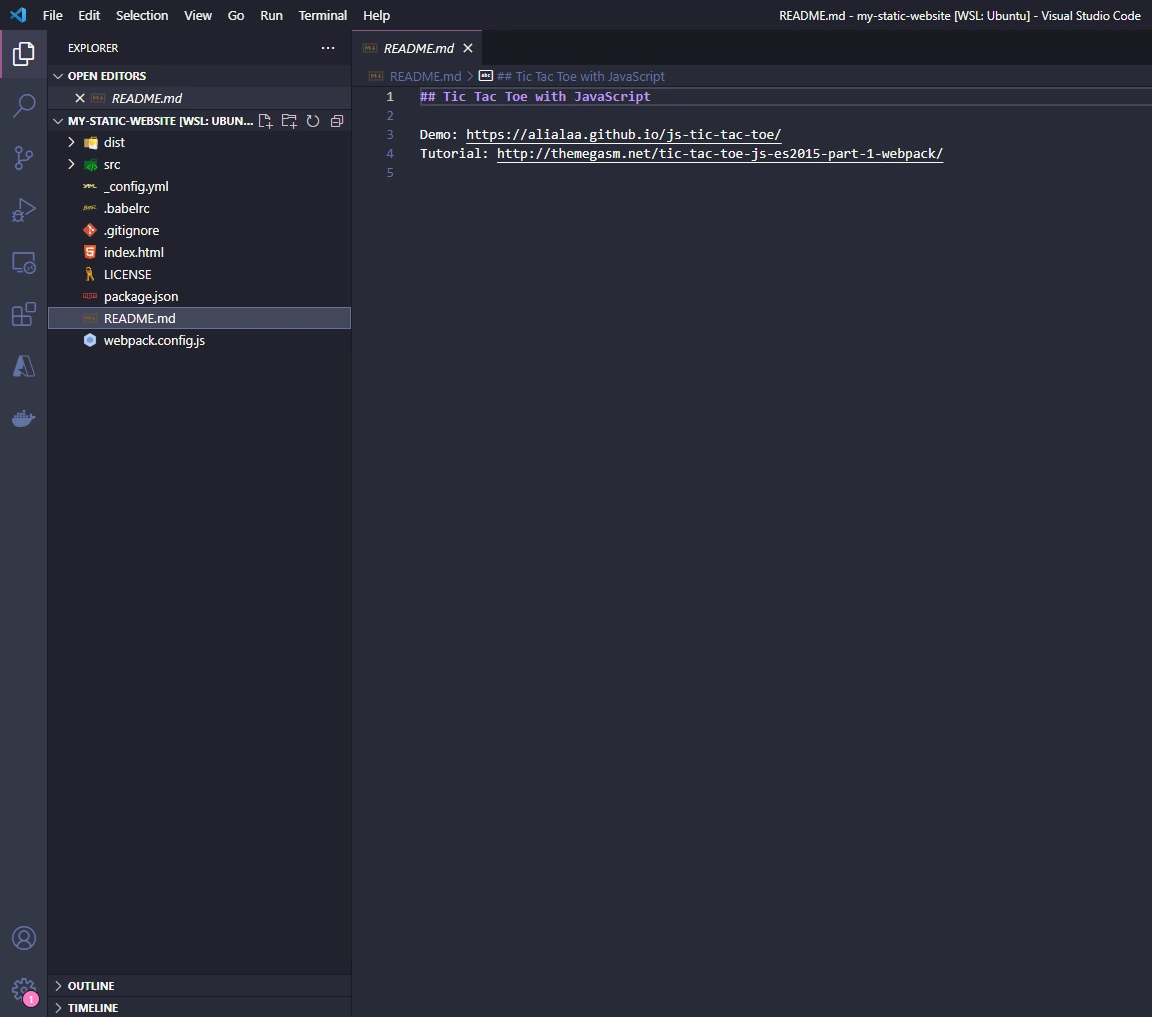 Project structure
To deploy the project to the recently created Azure Storage, you simply have to right-click in the directory you wish to deploy and choose the Deploy to static Website via Azure Storage option. In this project, we’ll want to deliver all the opened files, so, let’s right-click over the empty space in the root of the files tree as following:
 Click the highlighted option to deploy all files
Then some options will pop-up for you to tell the extension in which Azure Storage you want to deliver the files, if you have more than one subscription, you must select the same one that you created the Storage earlier:
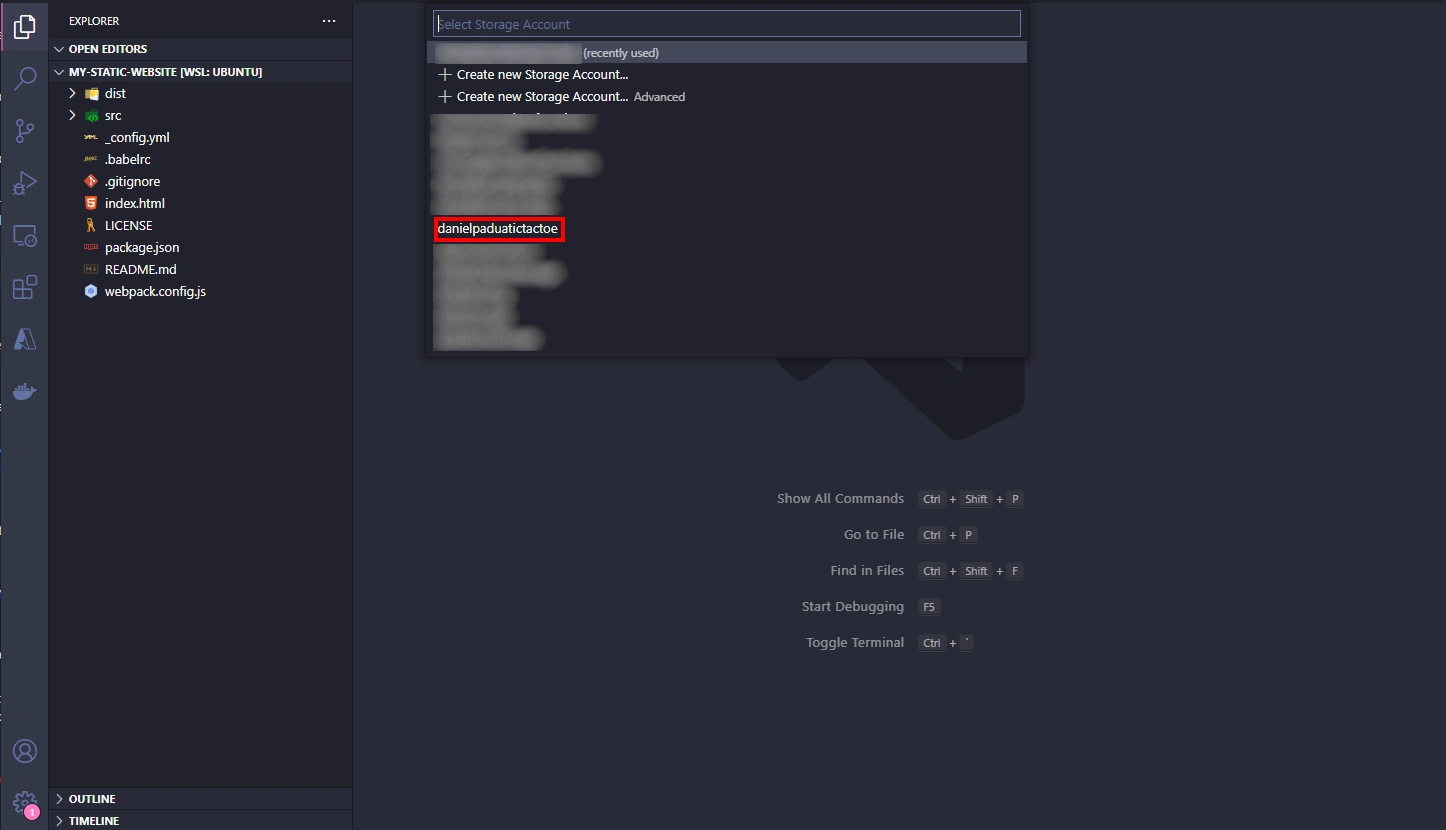 Select the same Storage you created earlier
After selecting, the extension might warn you that the static website hosting is not enabled in the selected Storage and will ask you if you wish to enable. We do want that, so choose Enable website hosting option.
You will then be asked what will be the name of the html file that must be considered when your user hit the root URL of your website, leave it written index.html and hit enter. Next, you will be asked the name of the file to present when your user try to access a nonexistent document. In this project there is no page to present in this scenario so we can keep the suggested index.html, but if your project have one, fill the name correctly.
Press enter again and the deploy will begin. After it successfully ends, the following message will appear in your screen’s inferior right side:
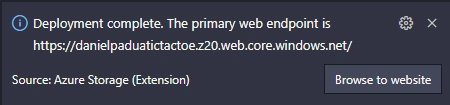 Successfully deployed
Navigate to the link written in the message and see your website running!
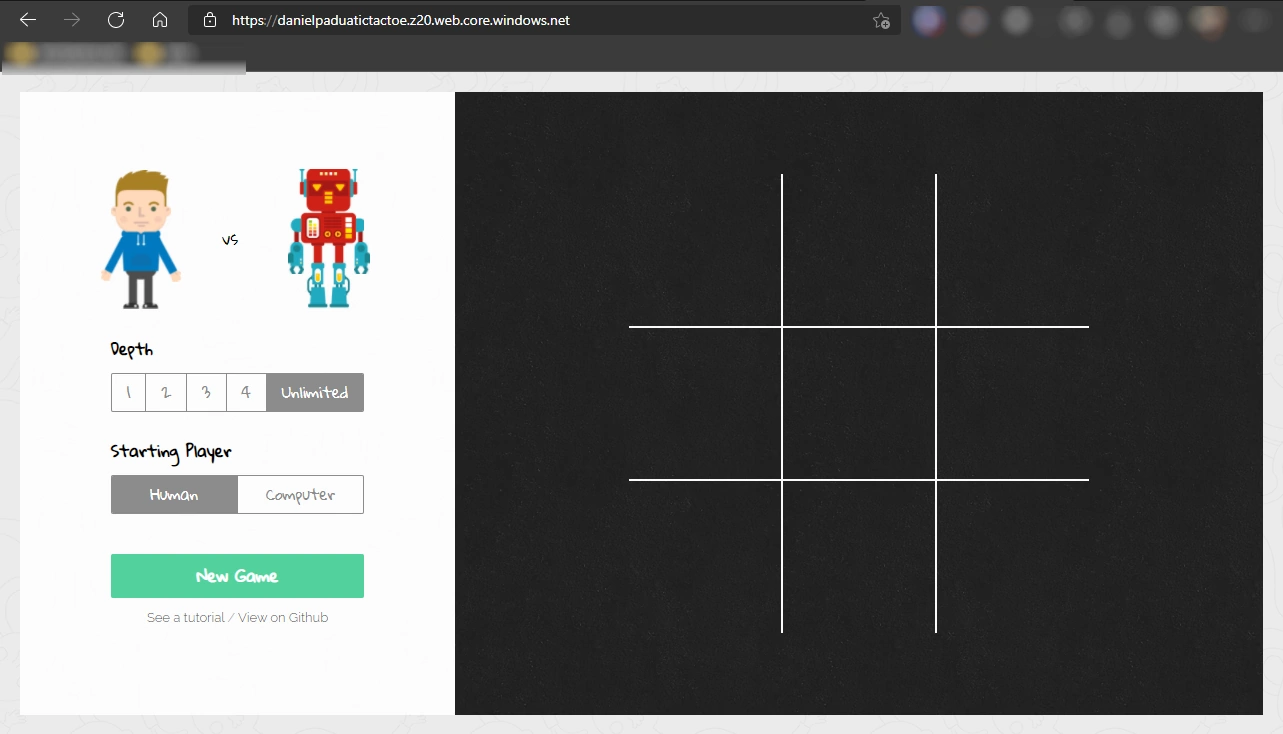 Website ready
Conclusion
In just a few minutes it’s possible to deploy a static website to Azure using Visual Studio Code. Not only easy, but also cheap. Actually I believe that the price is what’s more attractive in this hosting model.
At this moment I maintain 2 static websites in Azure with little access and I pay around $2,57/mo. But the better cost calculation is done considering bandwidth and storage size used. The best way to estimate is using Azure calculator: https://azure.microsoft.com/en-us/pricing/calculator/?service=storage.
I hope this guide was useful to you, thanks and see you guys soon!