


Java + Lombok
May 05, 2019
3 min
Learn how to install and configure IntelliJ IDEA to develop with Java and Spring Boot
To those who develop in java nowadays, it’s almost impossible to miss Spring framework and more specifically Spring Boot. Using this development stack, we gain more productivity and agility from small to large sized java projects. In this guide I’ll demonstrate how to install, configure IntelliJ IDEA and create a simple Hello-World using java, IntelliJ IDEA and spring boot.
The github repository of the example project of this post, can be found at: https://github.com/danielpadua/java-spring-idea-example
Use the following sections based in which operational system you’ll be using:
In Windows we have 2 options:
Direct download
Go to jetbrains download page, select the latest version (on the writing date of this guide is the 2019.1.1) and install it using NNF (next, next and finish).
Using a package manager (Chocolatey)
If you don’t know Chocolatey, take a look at this post.
Open powershell and install IntelliJ IDEA using the following command line:
choco install intellijidea-community
In Linux we also have 2 options:
Direct download
Go to jetbrains download page, select the latest version (on the writing date of this guide is the 2019.1.1), extract the .tar.gz file and execute the /bin/idea.sh file.
Using a package manager
Depending in which Linux distro you are using, you’ll use a different package manager. For instance, debian based distros, like the popular ubuntu, use apt-get. For Red Hat (or RHEL) based distros use yum or dnf. Search the best way to install IntelliJ IDEA using your package manager.
In macOS we have 2 options again:
Direct download
Go to jetbrains download page, select the latest version (on the writing date of this guide is the 2019.1.1) and install it as usual, dragging the app from the .dmg file to the apps folder of your mac.
Using a package manager (Homebrew)
If you don’t know Homebrew, take a look at this post
Open your favorite terminal and install IntelliJ IDEA using the following command line:
brew cask install intellij-idea-ce
With IntelliJ IDEA installed, the configuration is pretty simple. When you execute IDEA you will be questioned about some configurations like: theme color, shortcut key mapping and plugins. Let’s leave default config and begin.
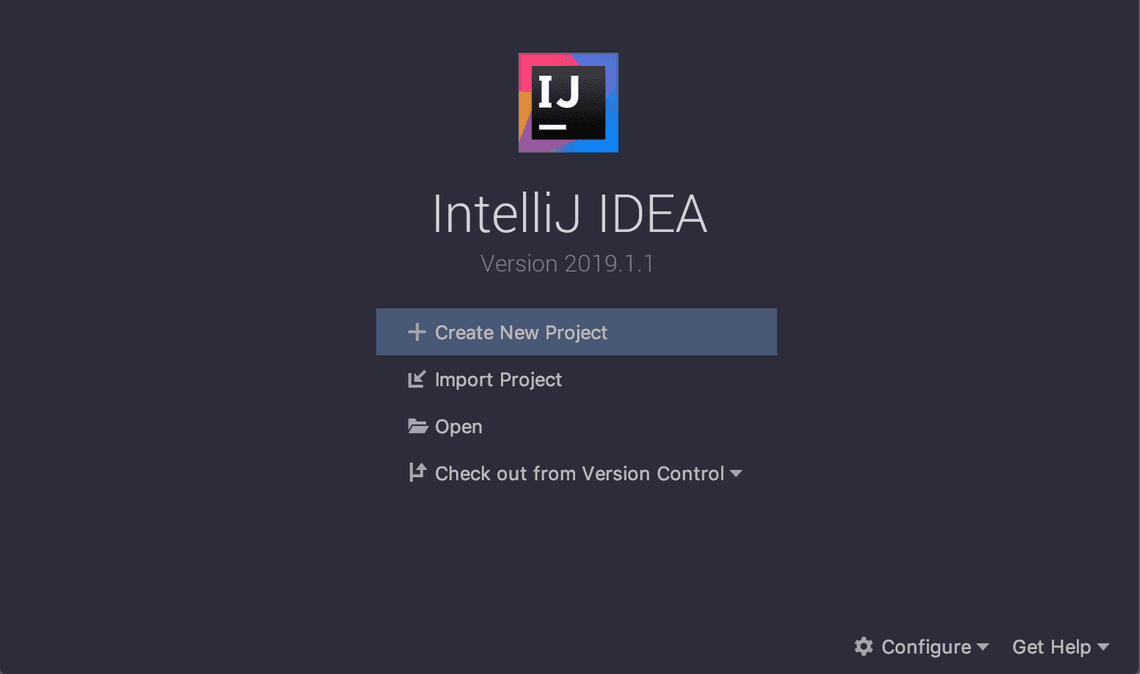
As soon as it starts, you’ll see the following screen:
For this example, we’ll be using Maven as build-tool.
Unfortunately using IntelliJ IDEA Community, according to the documentation, there’s no support to create Spring Boot projects using Spring Initializr through the IDE in Community version, only in the Ultimate Edition. So, we have two choices that we can explore:
Access: https://start.spring.io, and fill the fields like below:

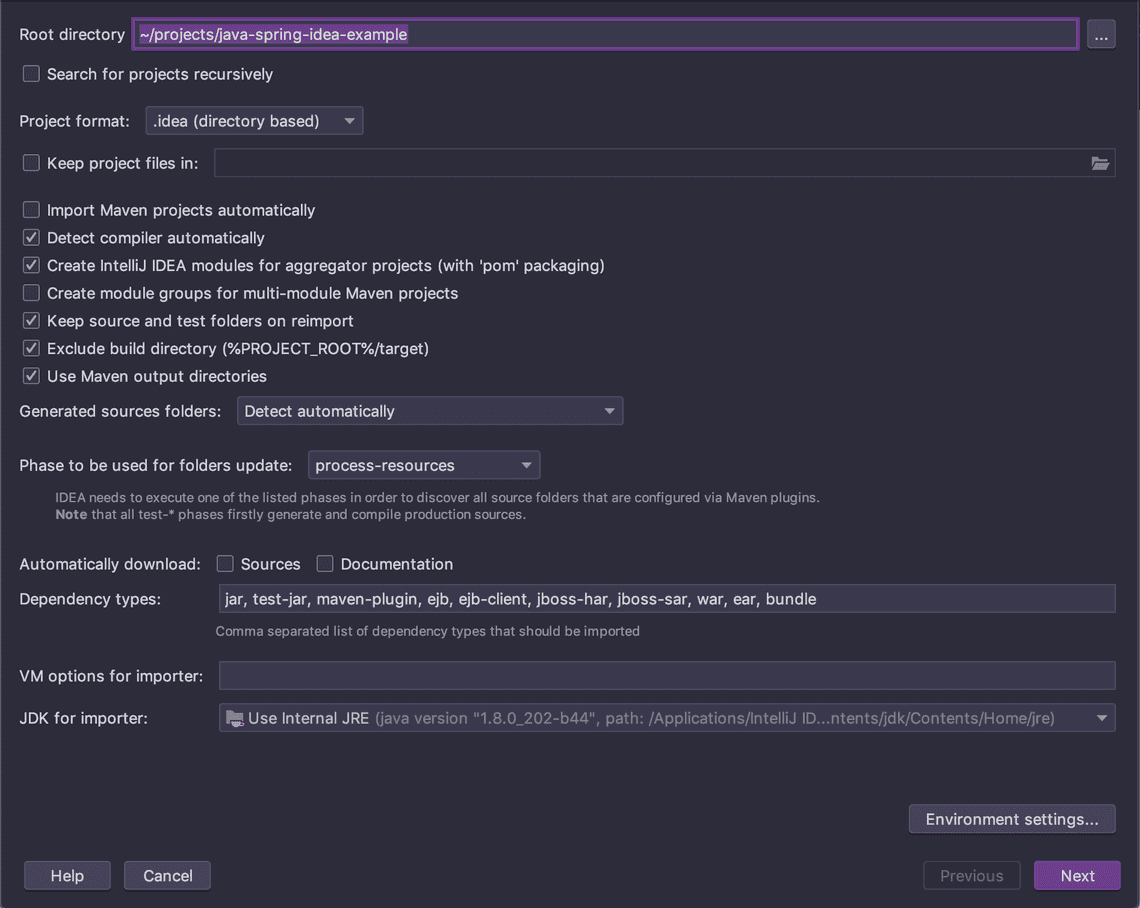
Don’t forget to select Web as dependency. Click Generate Project to download the project zip file. Extract it to a directory of your choice, go back to IntelliJ IDEA and select Import Project. Navigate to project’s directory and select the pom.xml file. You’ll see a window that is responsible for importing the Maven project, leave the defaults configs:
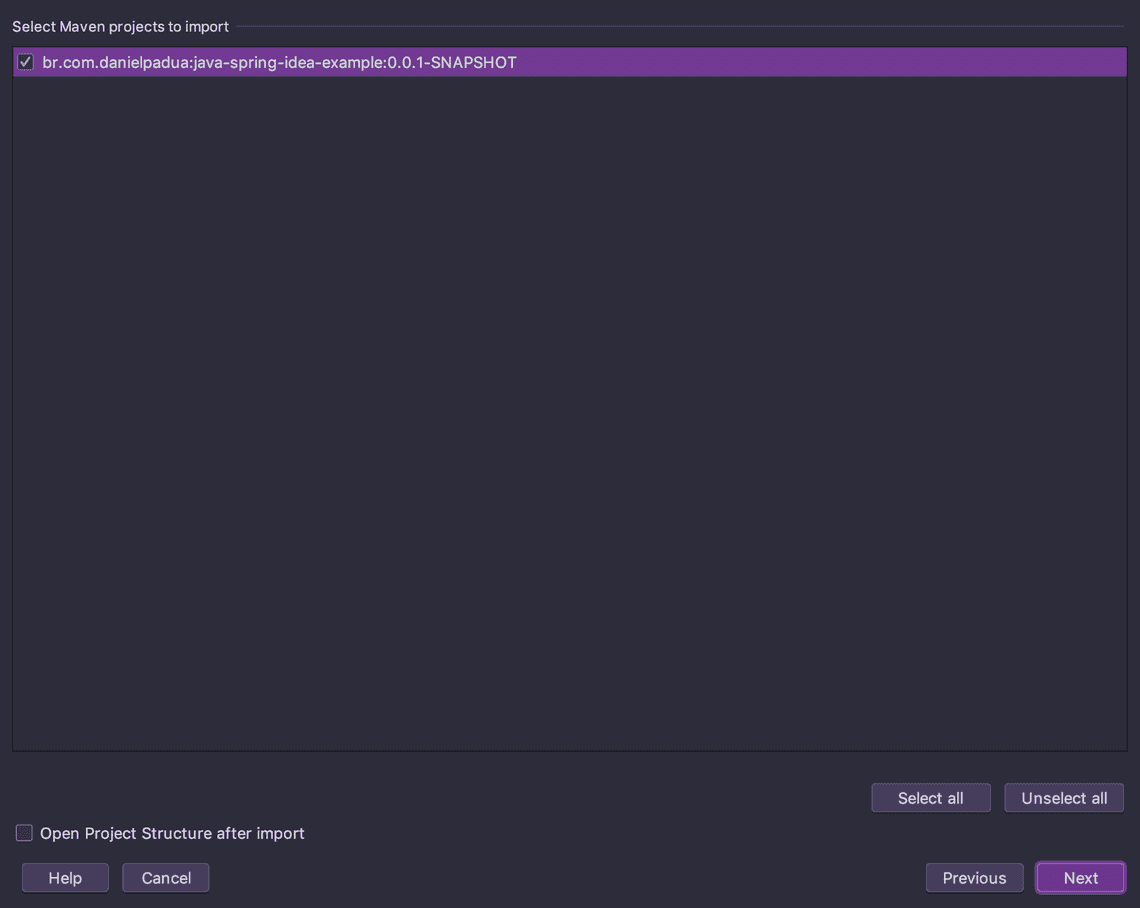
Select the project to import and click next:
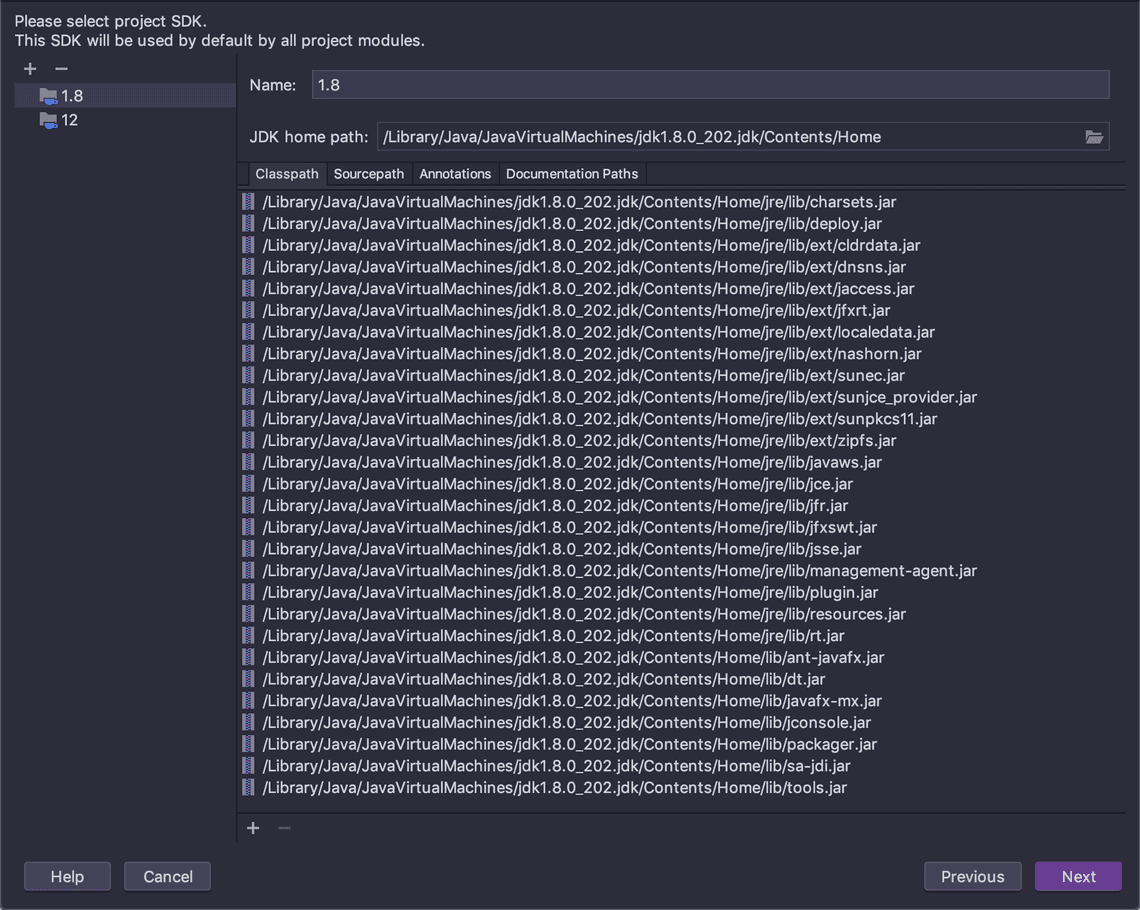
In the next screen, set the JDK version that you installed:
In the next screen confirm the project name and click finish.
In IntelliJ IDEA’s initial screen, select Create New Project, located on the left side tab and select Maven, on the right side, select the JDK version and click next:

When selecting the archetype, IntelliJ IDEA will assume that you will use Quickstart archetype, which is ok for our goal.
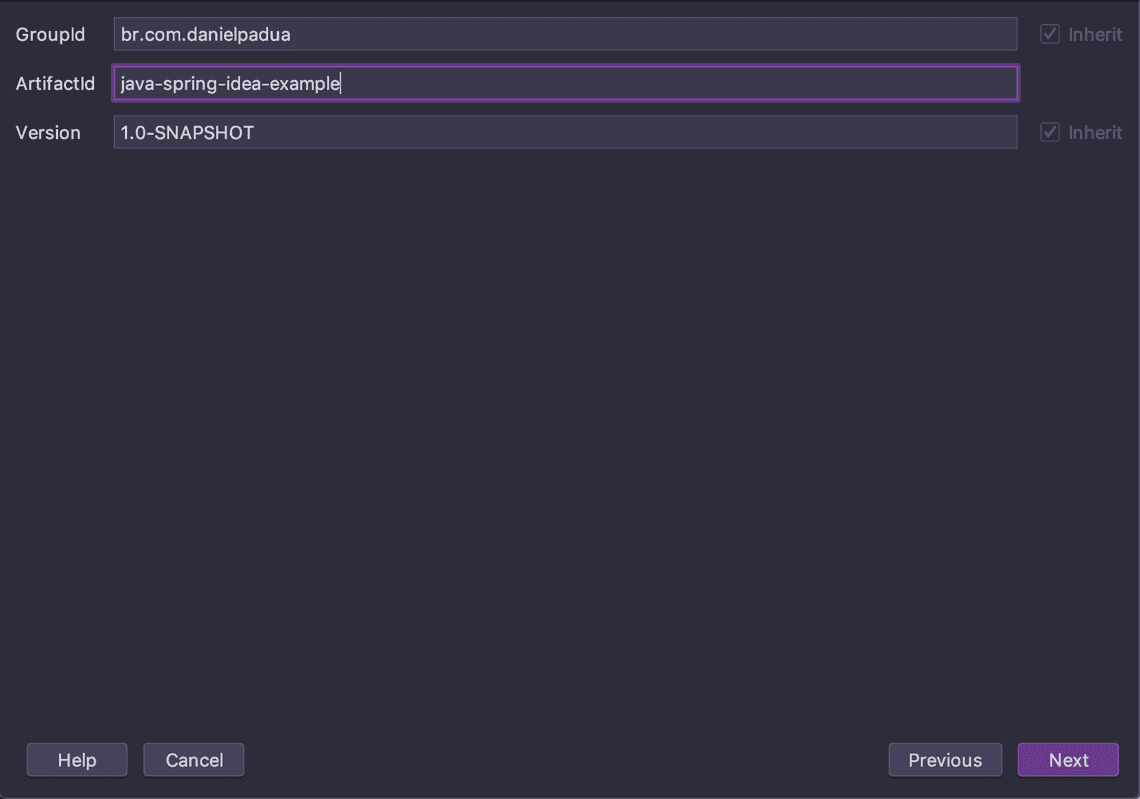
In the next screen specify the GroupId, ArtifactId and the Version and click next:
After you just have to name your project and click finish:

With the project created, configure pom.xml according to the following snippet:
<?xml version="1.0" encoding="UTF-8"?><project xmlns="http://maven.apache.org/POM/4.0.0" xmlns:xsi="http://www.w3.org/2001/XMLSchema-instance"xsi:schemaLocation="http://maven.apache.org/POM/4.0.0 http://maven.apache.org/xsd/maven-4.0.0.xsd"><modelVersion>4.0.0</modelVersion><parent><groupId>org.springframework.boot</groupId><artifactId>spring-boot-starter-parent</artifactId><version>2.1.4.RELEASE</version><relativePath/> <!-- lookup parent from repository --></parent><groupId>br.com.danielpadua</groupId><artifactId>java-spring-idea-example</artifactId><version>0.0.1-SNAPSHOT</version><name>java-spring-idea-example</name><description>Demo project for Spring Boot</description><properties><java.version>1.8</java.version></properties><dependencies><dependency><groupId>org.springframework.boot</groupId><artifactId>spring-boot-starter-web</artifactId></dependency><dependency><groupId>org.springframework.boot</groupId><artifactId>spring-boot-starter-test</artifactId><scope>test</scope></dependency></dependencies><build><plugins><plugin><groupId>org.springframework.boot</groupId><artifactId>spring-boot-maven-plugin</artifactId></plugin></plugins></build></project>
After updating pom.xml a notification will pop-up at the bottom right corner of the screen:

Click Import Changes for Maven refresh all project dependencies.
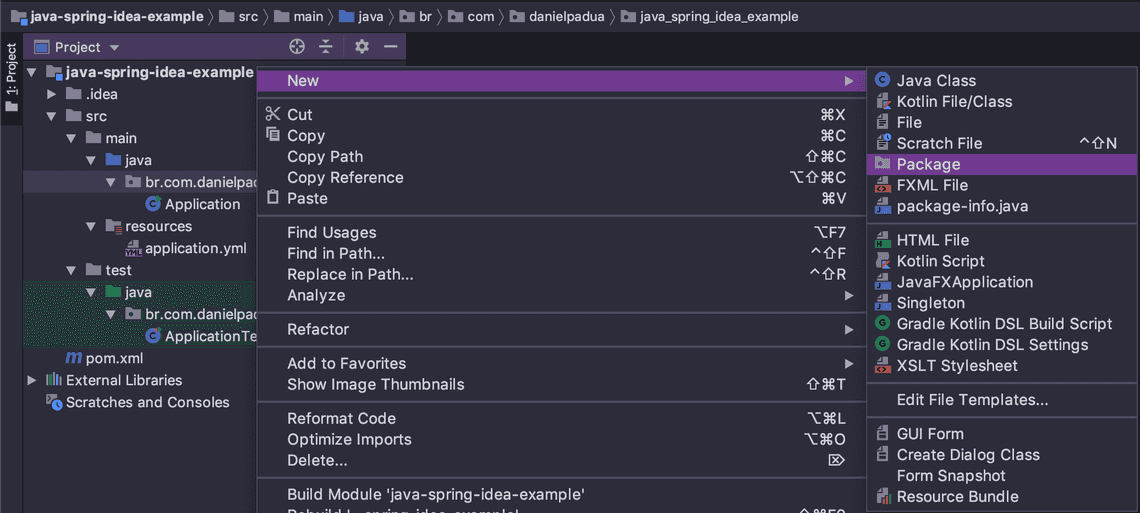
Now we’ll create a class that will contain the main function of the project. Remember that creating a class in default package is not a good java practice, so, click in source folder main/java and create a package:

Write the name of the package, in my example was: br.com.danielpadua.java_spring_idea_example, and create a class inside this package named ExampleApplication.java, and write the following code:
package br.com.danielpadua.java_spring_idea_example;import org.springframework.boot.SpringApplication;import org.springframework.boot.autoconfigure.SpringBootApplication;@SpringBootApplicationpublic class ExampleApplication {public static void main(String[] args) {SpringApplication.run(ExampleApplication.class, args);}}
Don’t forget the unit tests main class too, repeat package creation step and create a class named: ExampleApplicationTests.java and write the code:
package br.com.danielpadua.java_spring_idea_example;import org.junit.Test;import org.junit.runner.RunWith;import org.springframework.boot.test.context.SpringBootTest;import org.springframework.test.context.junit4.SpringRunner;@RunWith(SpringRunner.class)@SpringBootTestpublic class ExampleApplicationTests {@Testpublic void contextLoads() {}}
At this moment we’ll have basically the same project structure that is generated by Spring Initializr at the section above.
With the basic project skeleton created, we just have to create a package to nest the controller that will contain Hello World endpoint. Right click the root package:
Write: controllers and confirm. Inside the generated package, create a class named: ExampleController.java and write the code:
package br.com.danielpadua.java_spring_idea_example.controllers;import org.springframework.http.ResponseEntity;import org.springframework.web.bind.annotation.GetMapping;import org.springframework.web.bind.annotation.RequestMapping;import org.springframework.web.bind.annotation.RestController;/*** ExampleController** @author danielpadua**/@RestController@RequestMapping("/api/example")public class ExampleController {@GetMapping("/hello-world")public ResponseEntity<String> get() {return ResponseEntity.ok("Hello World!");}}
Run the project by right clicking over the main class Application.java and select the option Run ‘Application.main()’:

After clicking run, you should see the output in the Run tab located at screen’s bottom:

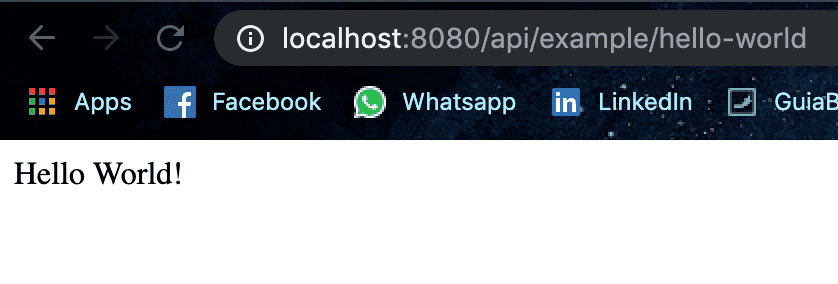
To test the app, you only have to open your favorite browser and access: http://localhost:8080/api/example/hello-world, and you should see the Hello World message:
IntelliJ IDEA is the most used IDE for java nowadays and it’s probably the most complete in the opinion of many developers. Community version is a great alternative to traditional eclipse.
See you soon!
Legal Stuff